
Mailchimp is a trusted, third-party marketing automation and email marketing platform with over 2.4 million monthly active users. With many event organizers using Mailchimp to communicate with their participants, we have built an easier way for them to accomplish the same work in less time. With our Race Roster Mailchimp API, event organizers can sync data and easily check in on campaign analytics from their Race Roster dashboard.
The API allows you to sync the event's participant and volunteer data with audiences (also known as lists) in your Mailchimp account. This makes it easier for you to manage your RR-inbound audiences when creating email communications through Mailchimp.
Why use this integration? With this tool, you no longer need to export your participant or volunteer list to then upload that list into Mailchimp. Syncing email data periodically through the API minimizes errors, reduces privacy risks, and saves time.
Preliminary step
To access Race Roster email functionality within an event dashboard, a user needs 'MailChimp' and 'Campaigns' activated in their staff access settings for the specific event.
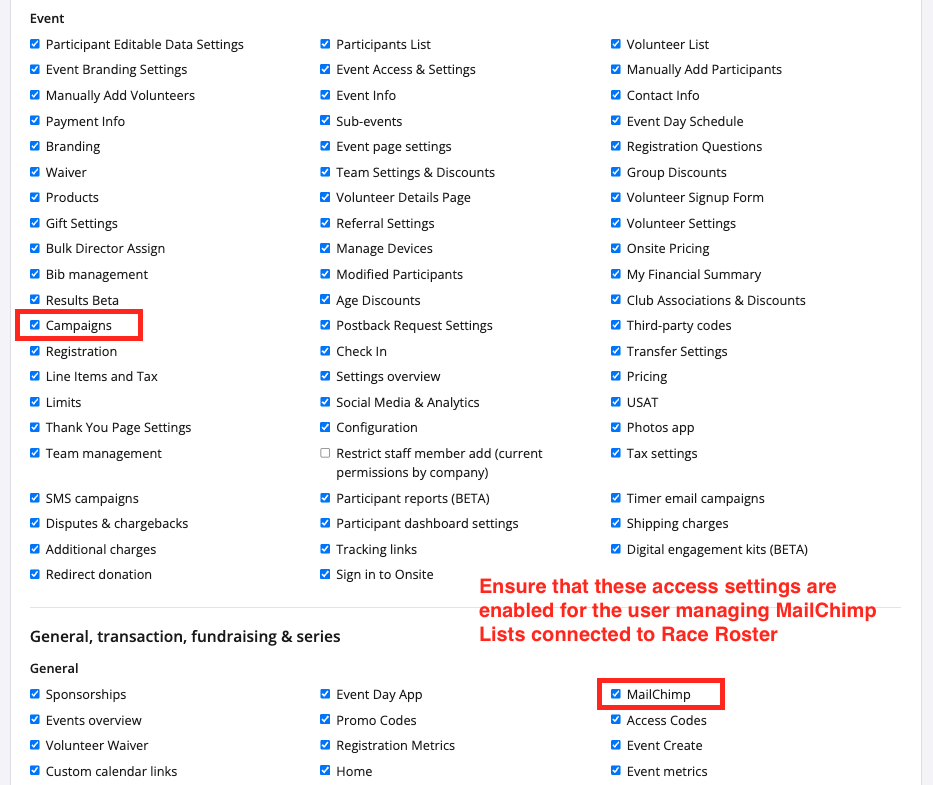
Configuring these options is outlined in our other article, How to change or restrict staff access permissions for an event.
How to enable synching
1. From your event dashboard, click on Add-ons > MailChimp from the lefthand side menu (or, enable the setting from your settings overview page). 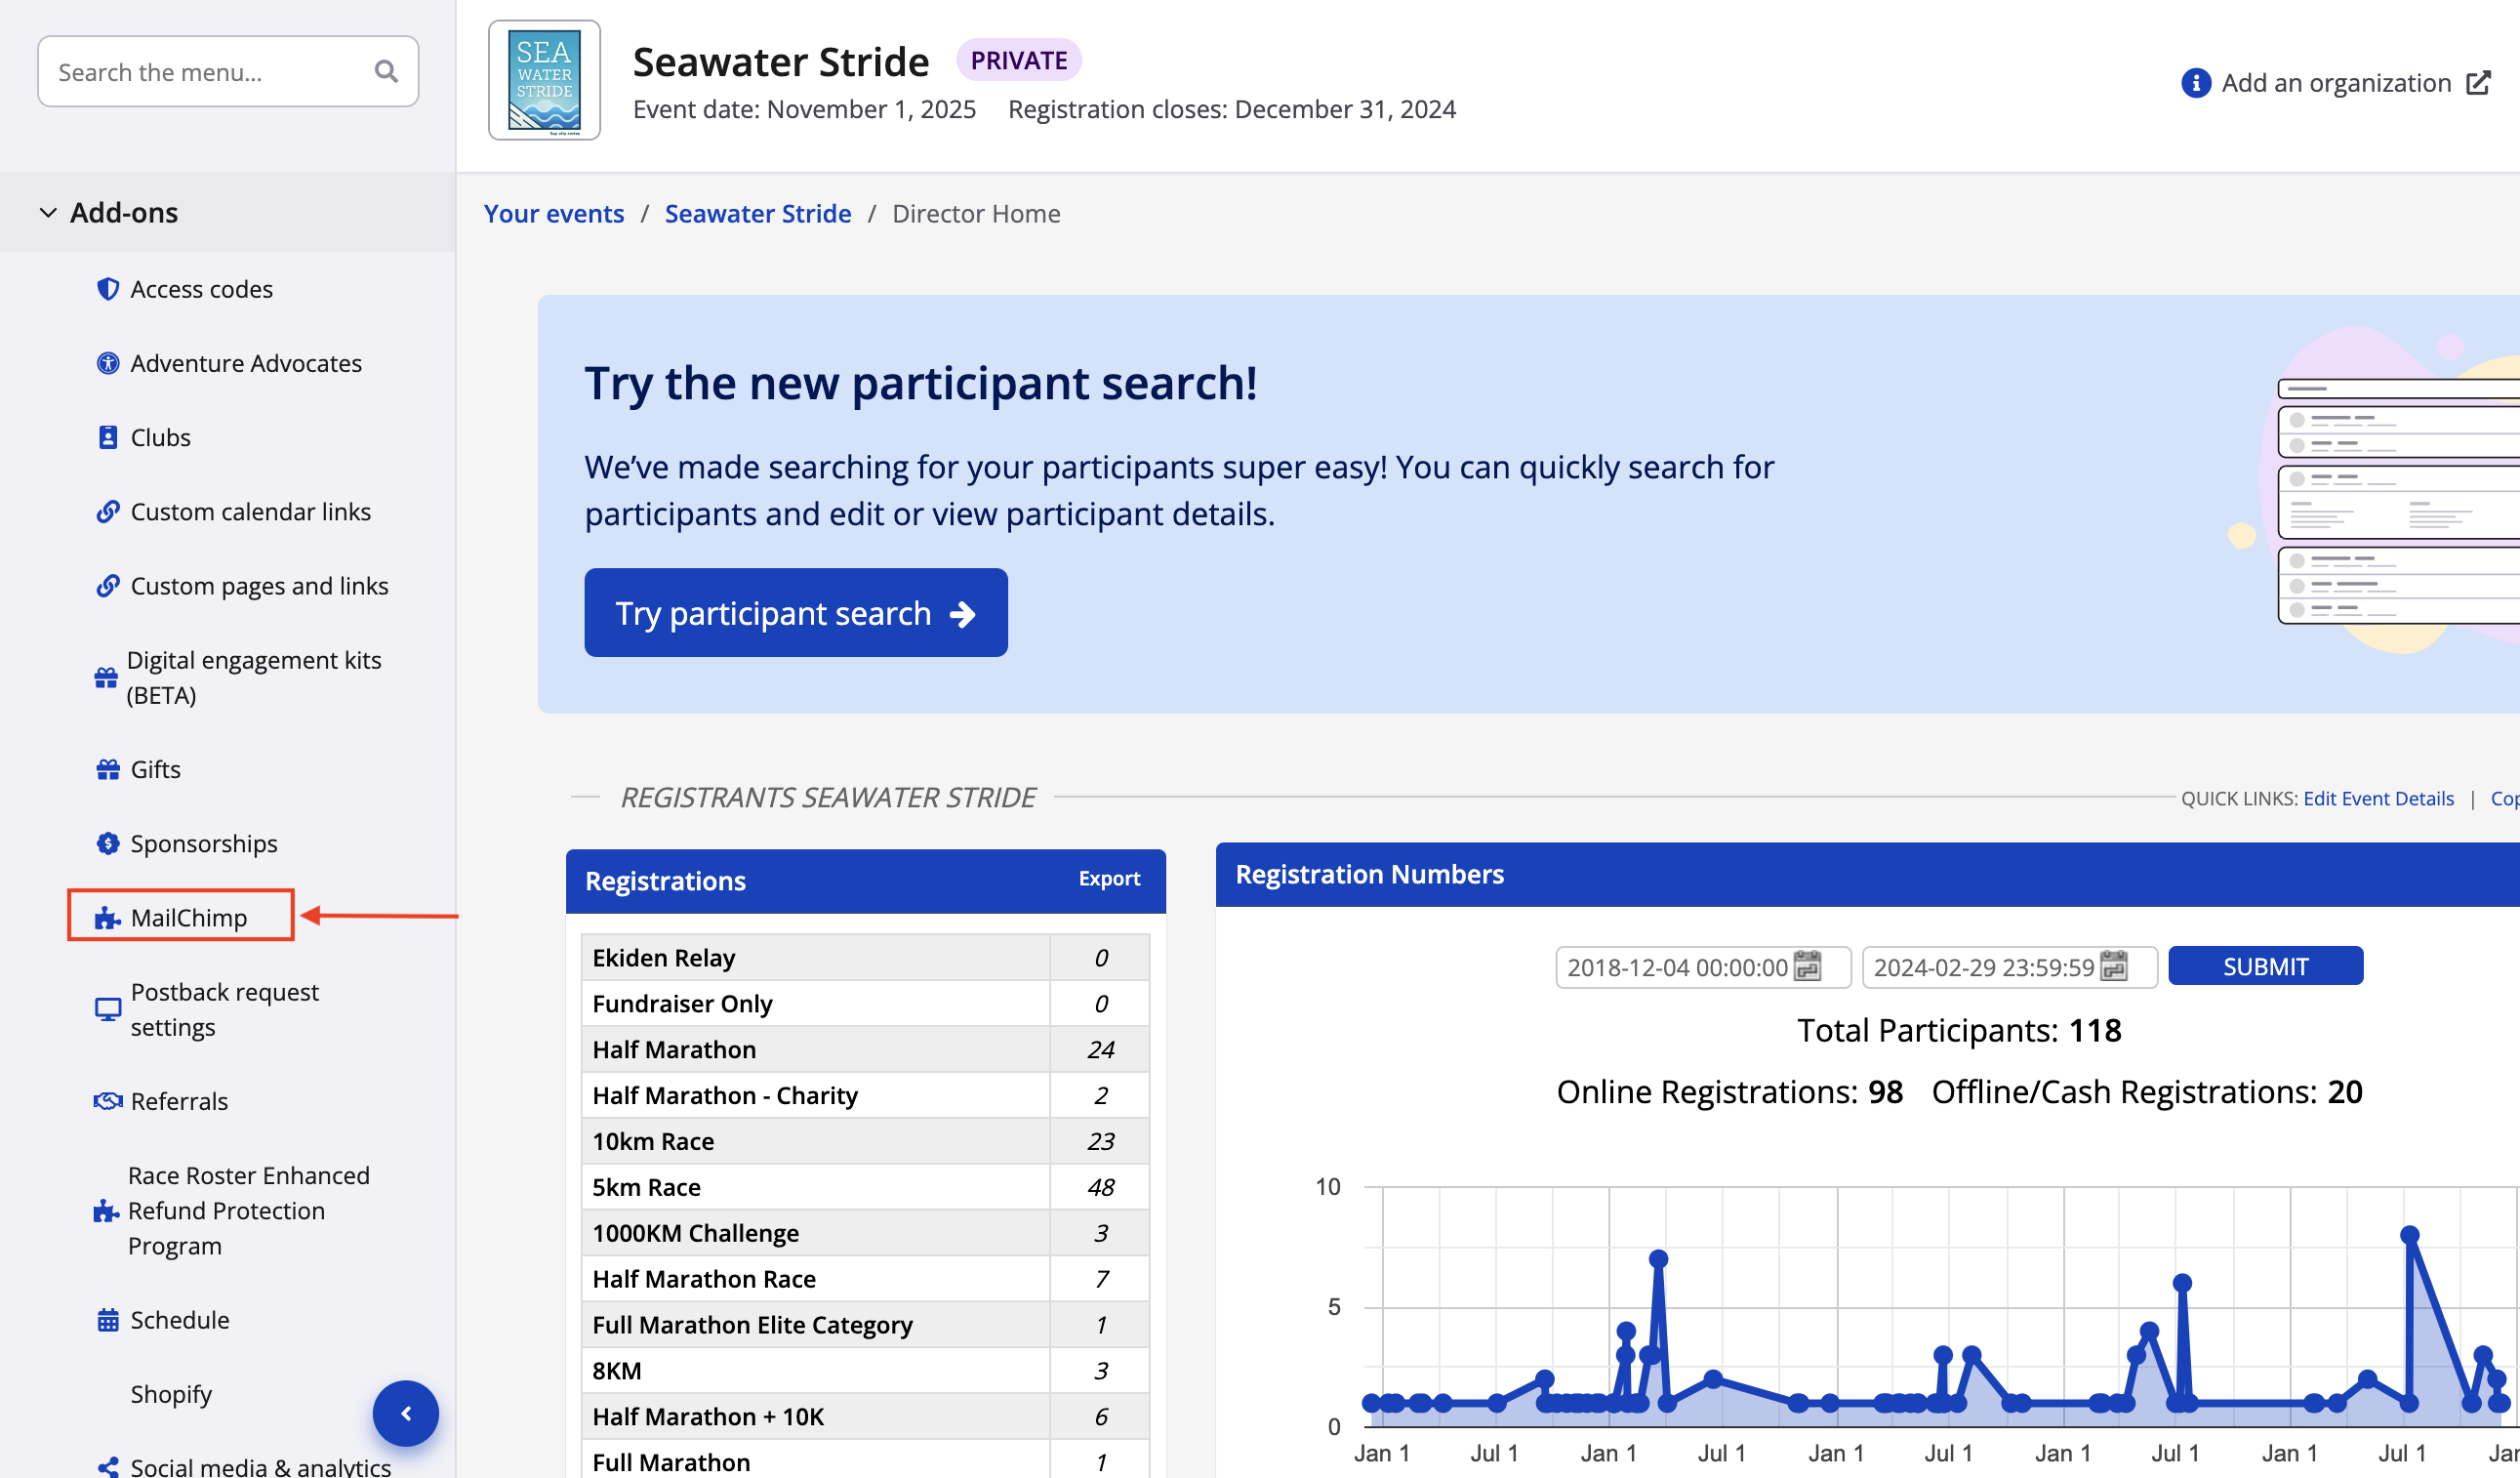
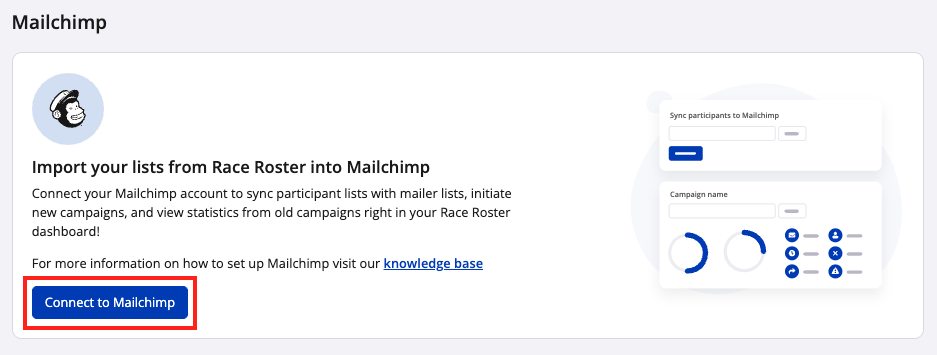
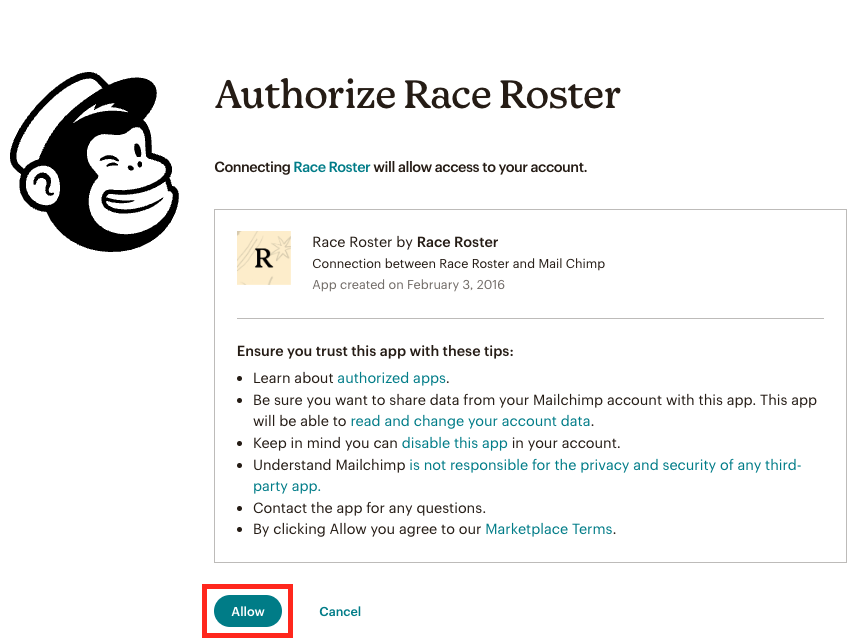
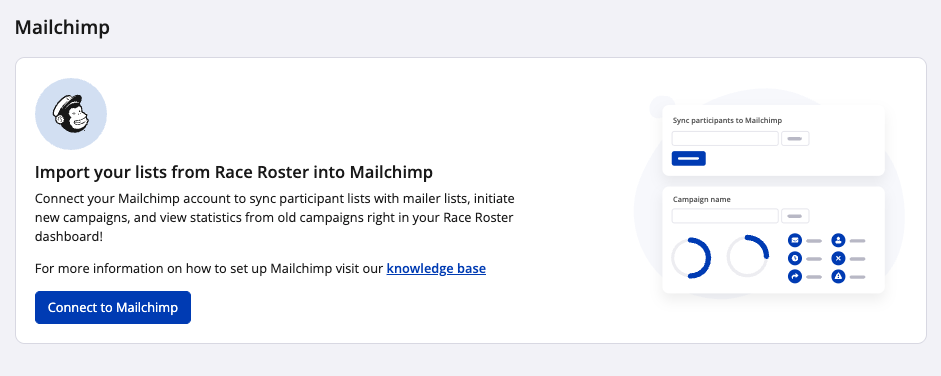
2. On the newly-enabled page, click the blue "Connect to Mailchimp" button. Then, log into your Mailchimp account. Complete the sign-in process for this third party platform.
3. Now that you are successfully connected to Mailchimp, establish your preferences for the fields outlined below:
- User type: Choose to upload participants (whether all or only those with active or inactive registrations) or volunteers into your Mailchimp list.
- Sub-event(s): Select the sub-event(s) from which you want to pull data.
- Mailing Audience: Choose to which of your existing Mailchimp audiences you'd like to sync the event data. If needed, navigate to Mailchimp to create the list and save it. Be sure to return to Race Roster and refresh the Mailchimp configuration page to continue.
Note: Effective June 2026, Mailchimp updated their subscription plans, which now limit the number of "Audiences" (formerly known as "Lists") a user can create depending on the user's plan level. For this reason, creating an audience or list always occurs on the Mailchimp side. If after enabling the integration you do not see a recently-created Mailchimp audience in the dropdown on Race Roster, refresh the page and start again.
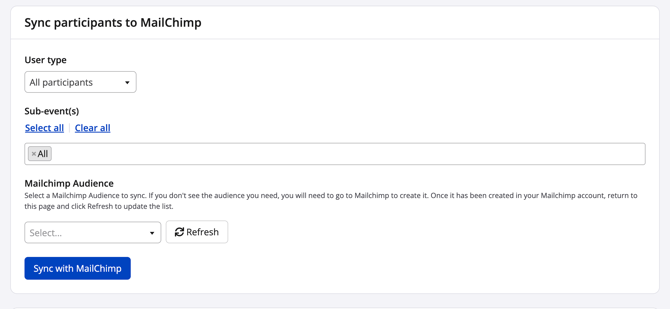
4. Review the fields you filled out and press the blue "Sync with MailChimp" button. A message will appear to notify you that the data upload could take several minutes. If you’re synching over 5000 records, it may take longer. Of course, keep the browser tab open while the upload completes.
Race Roster best practice
Before synching, take note of the number of subscribers on the target Mailchimp list. Once the sync with Race Roster is complete, head back to Mailchimp and refresh the email list page to see the change in number of subscribers. If the sync is successful this number will increase.
How to disable synching
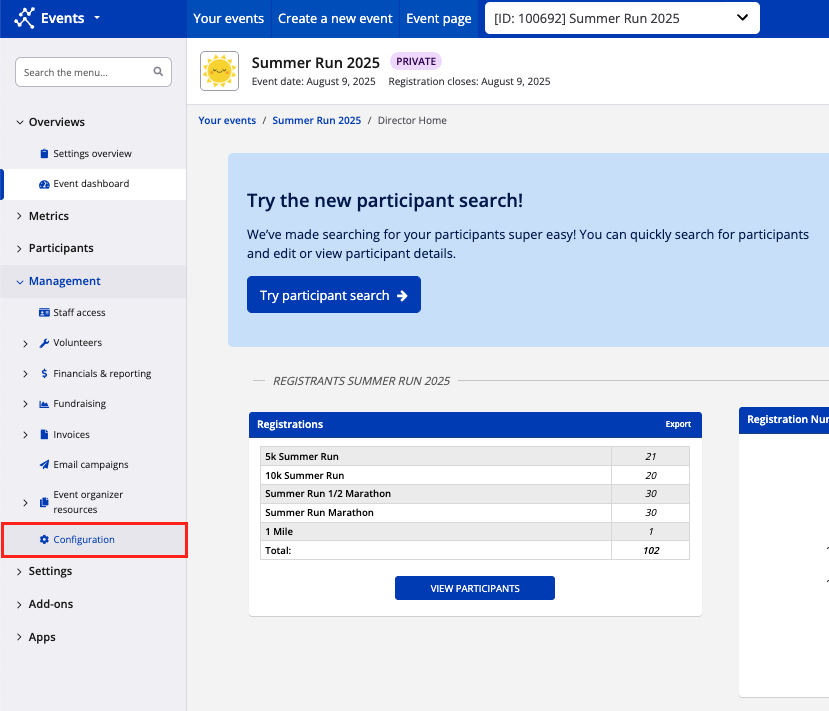
1. From your event dashboard, click on Management > Configuration from the lefthand side menu.
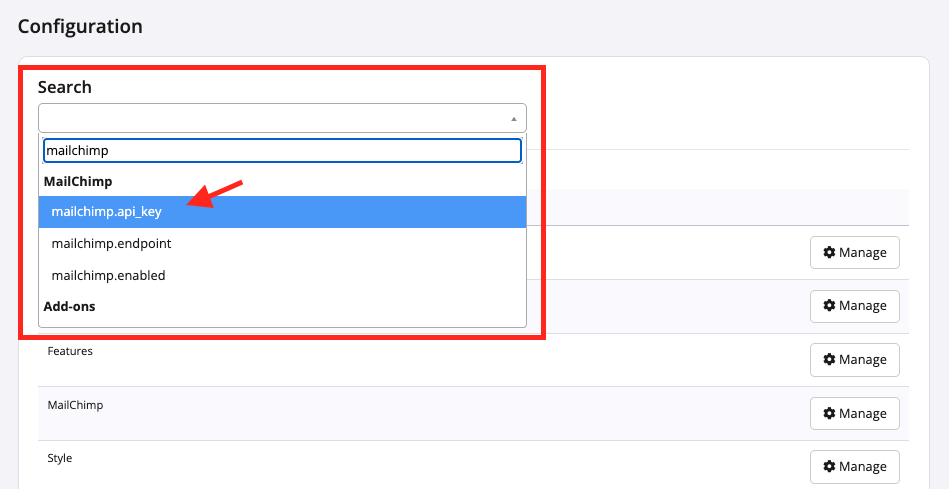
2. Use the search bar and type "Mailchimp", selecting "mailchimp.api_key" from the dropdown menu.
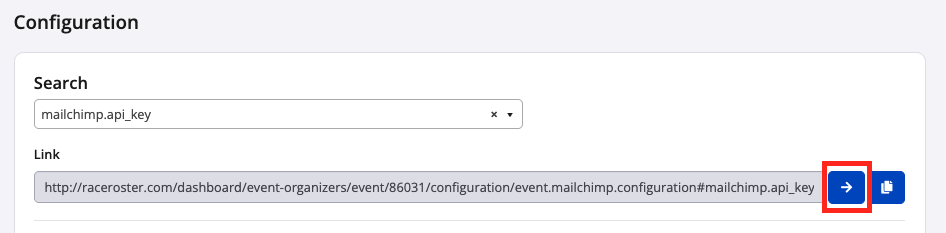
3. Click the blue arrow button on the righthand side.
4. Once inside the configurations for MailChimp, clear out the content inside of the following two fields:
- mailchimp.api_key
- mailchimp.endpoint
If your plan is to connect the event to a new MailChimp account or be able to connect in the future for this event or its future duplications, you may leave the mailchimp.enabled checkbox selected as its default "On".
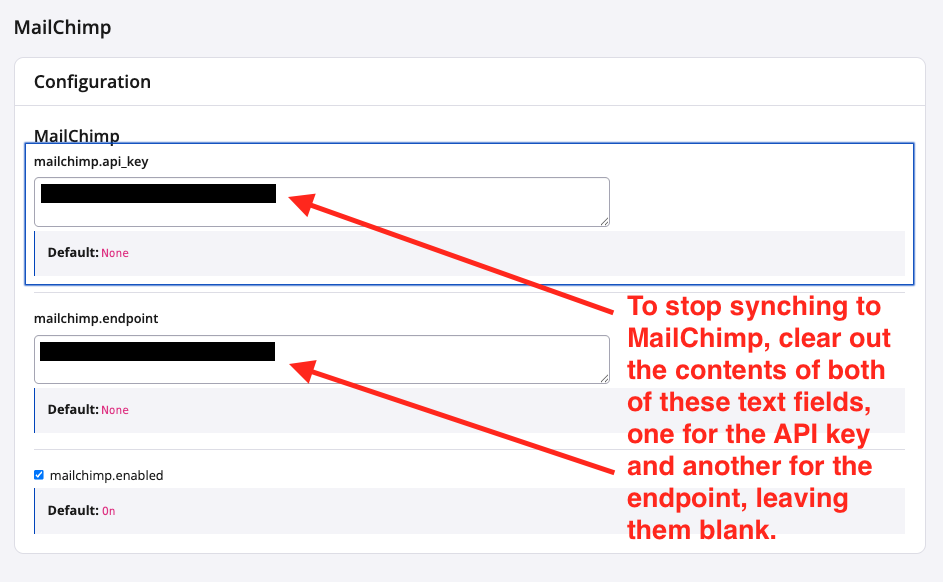
5. Finally, click the green "Save" button on the bottom right of the MailChimp configuration page. If you return to the MailChimp add-on settings, you will see that all synching has been removed and the page has reset to begin a new connection if needed.
Looking for more information about email and marketing campaigns? Visit the knowledge base section on email campaigns and MailChimp integration.