The Timer email campaign tool is separate from Race Roster’s standard Email Campaign feature and is specifically designed for sending participant communications that include post-race results.
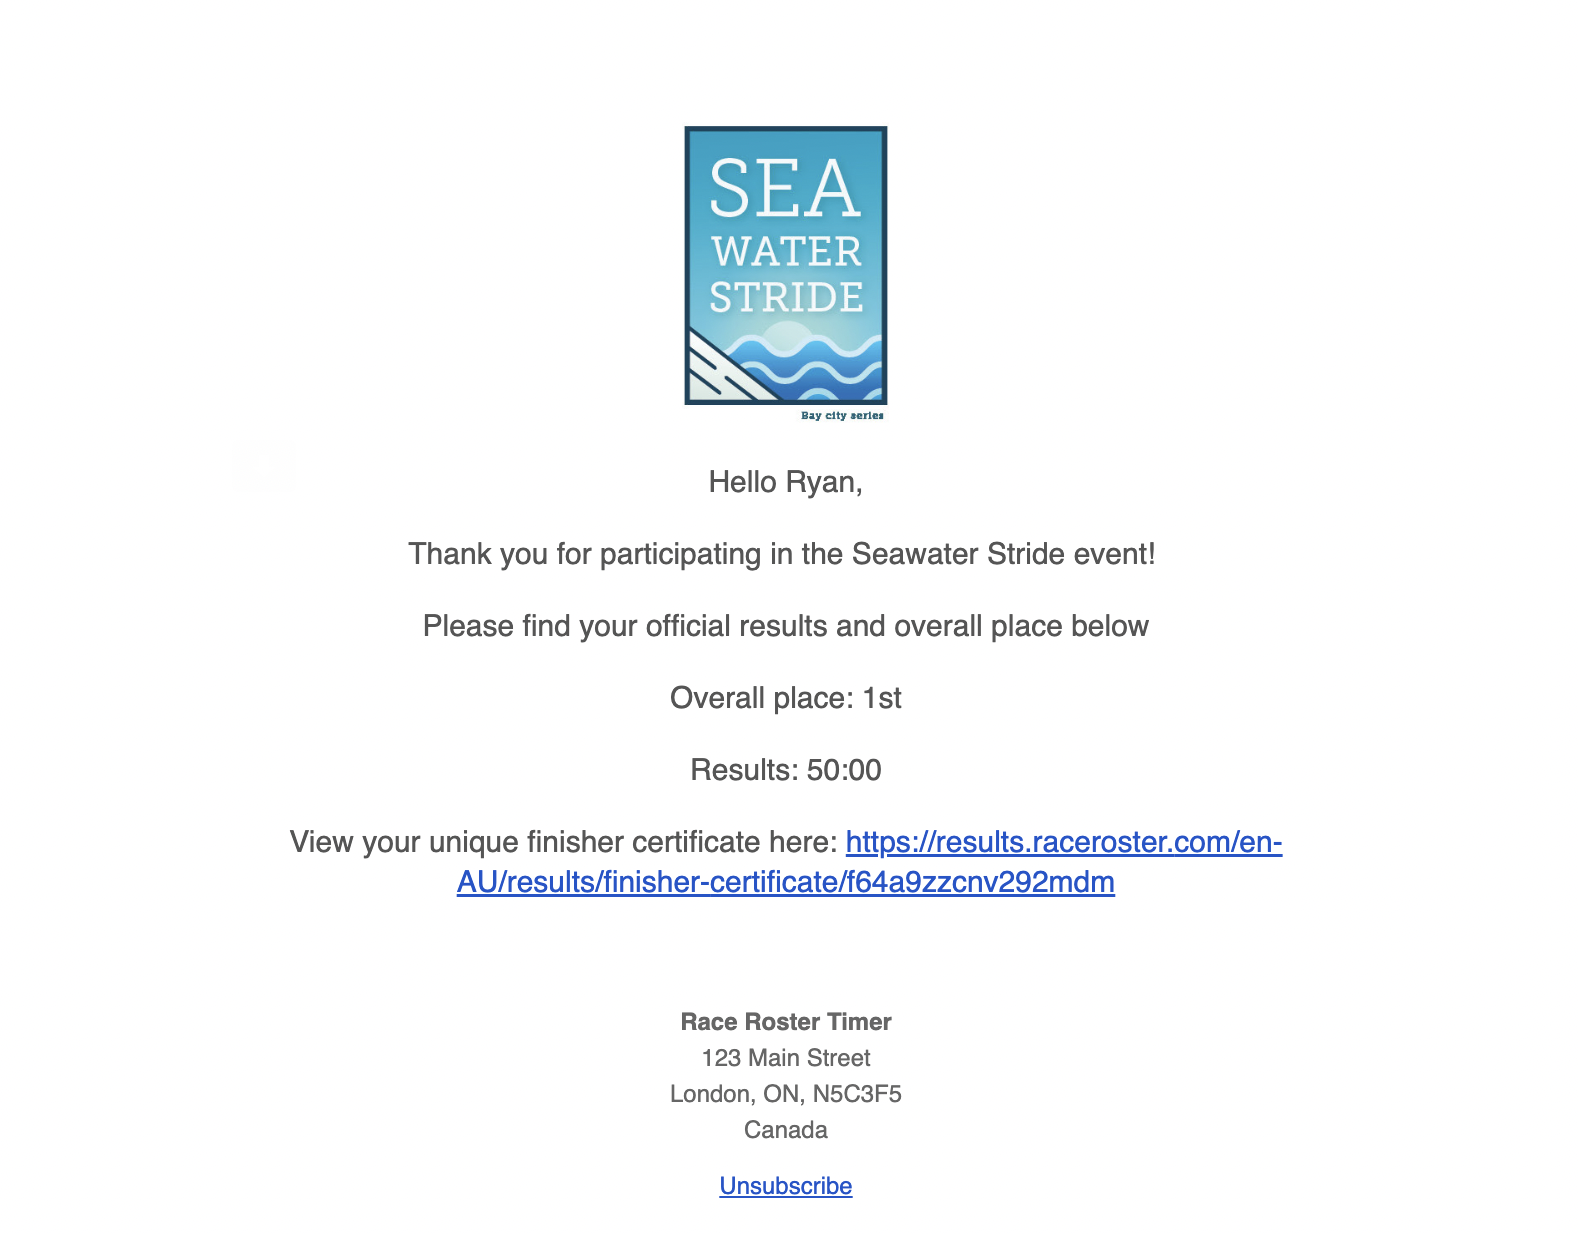
The Timer email campaign tool includes unique results merge tag that can populate participant result data directly into the email. This allows Event Organisers and Timers to efficiently distribute post-race communications after an event has concluded.
To set up a Timer Email Campaign, follow the steps below.
1. Access Timer email campaigns from the event dashboard, navigate to Apps → Timer Email Campaigns. This option can be found in the left-hand side navigation menu.
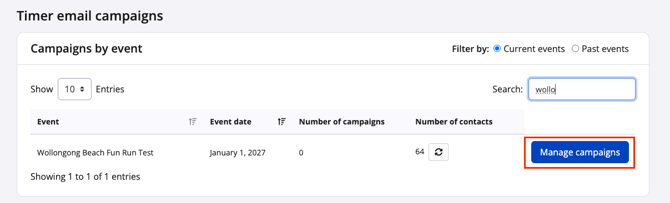
2. The Timer email campaigns dashboard will display upcoming events where the user has staff access. Past events can also be viewed using the available filters Select the blue Manage campaigns button on the right-hand side of the relevant event.
3. Before creating a campaign, a verified sender must first be configured, similar to the standard Race Roster Email Campaigns tool.
To create a sender:
- Navigate to the Senders tab at the top of the page
- Click Create new sender
- Complete the sender verification process
Refer to the related support article on adding a sender for email campaigns for additional guidance.
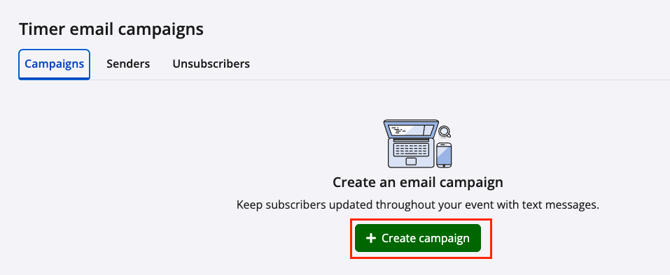
4. Once the sender has been verified return to the Campaigns tab and click the green Create campaign button. This will begin the Timer Email Campaign setup process.
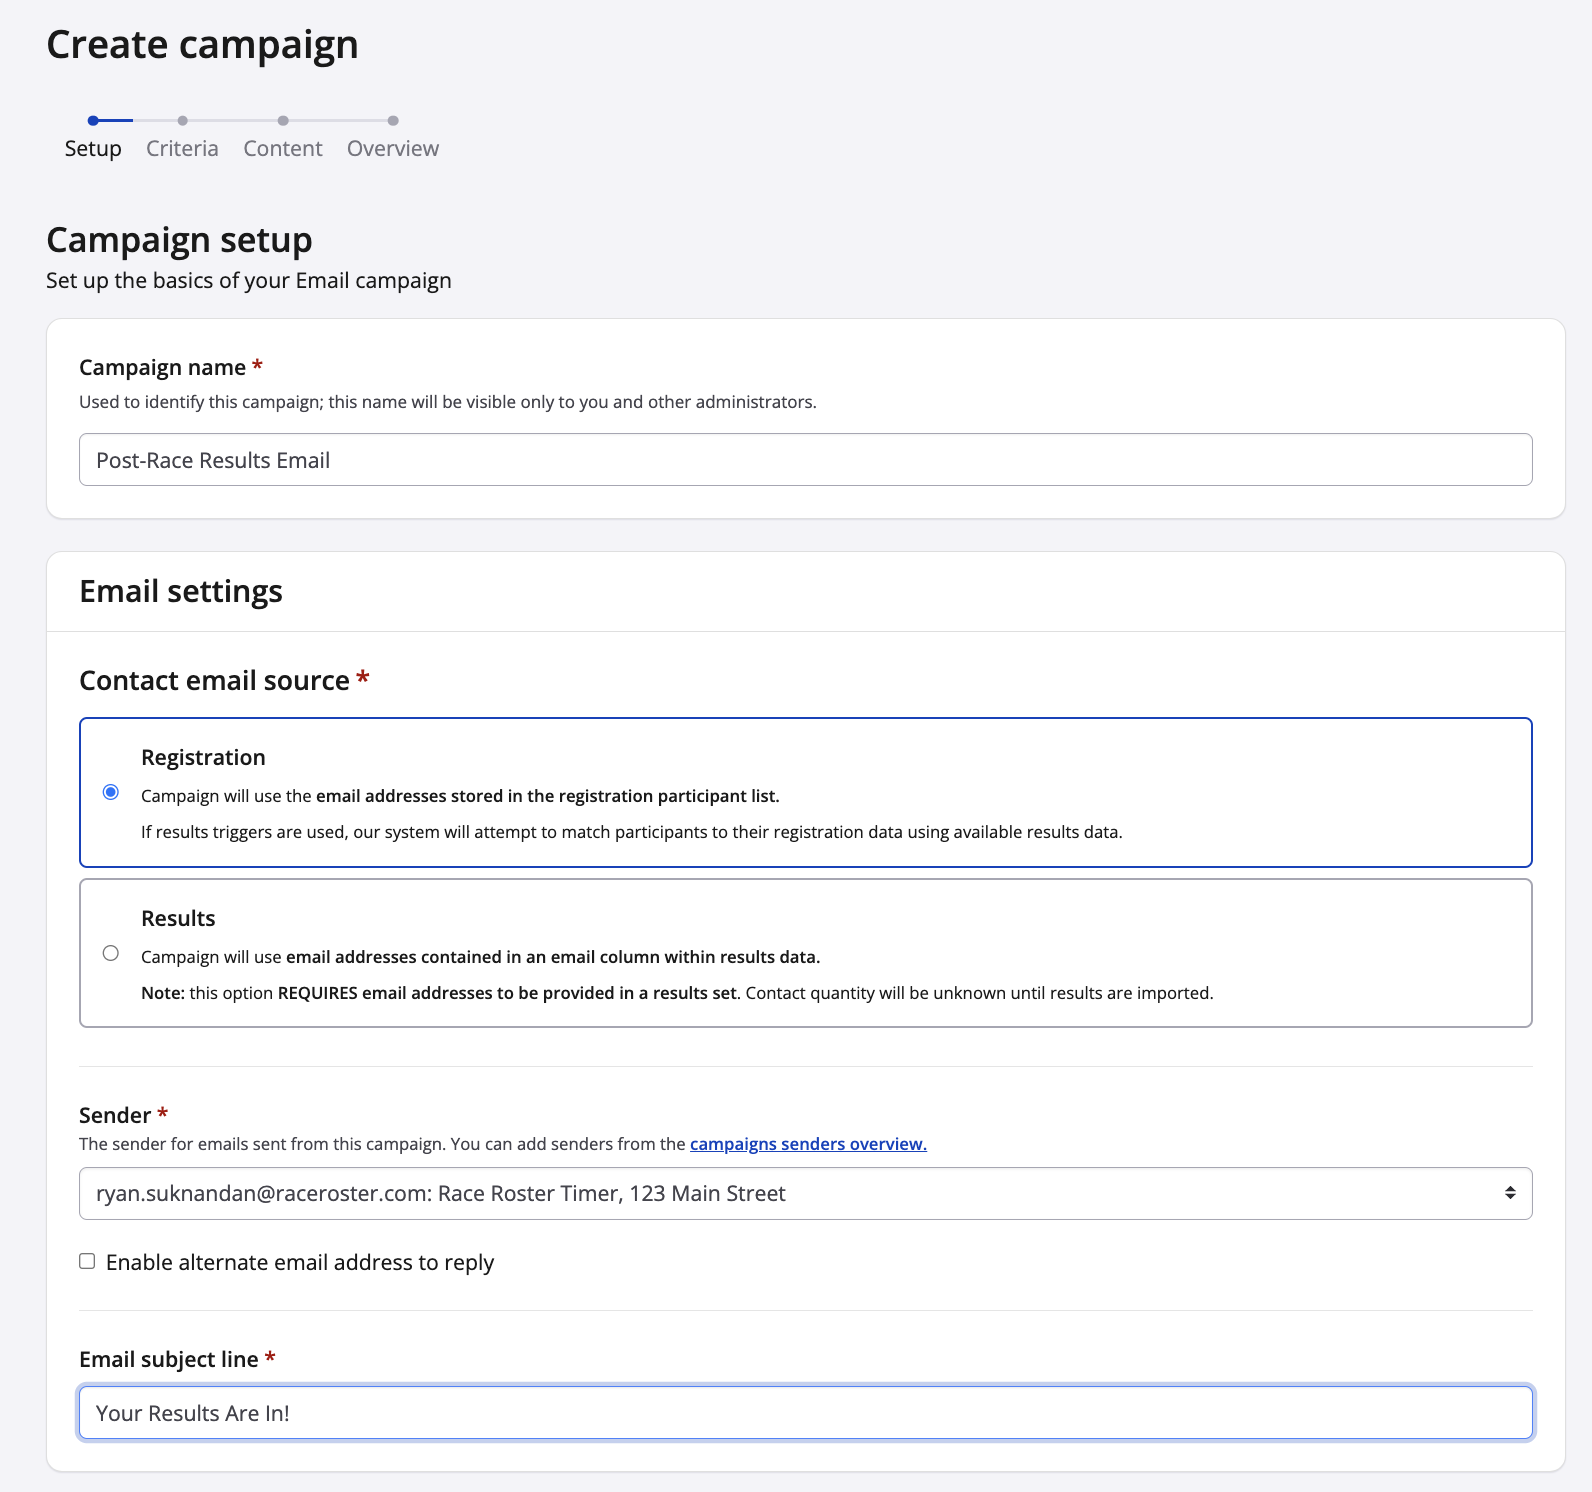
5. On the Setup step, configure the following campaign details:
-
Campaign name: This name is only visible internally and will not be shown to participants.
-
Email settings: Select one of the following options:
-
Registration: Uses the participant email address associated with the participant registration record.
-
Results: Requires the uploaded results file to contain a participant email address column. Emails will be sent using the email address provided in the results data.
-
-
Alternate reply-to email address (optional): An alternate email address can be added for participant replies.
-
Email subject: This is the subject line participants will see when receiving the email.
Once complete, click Save & continue.
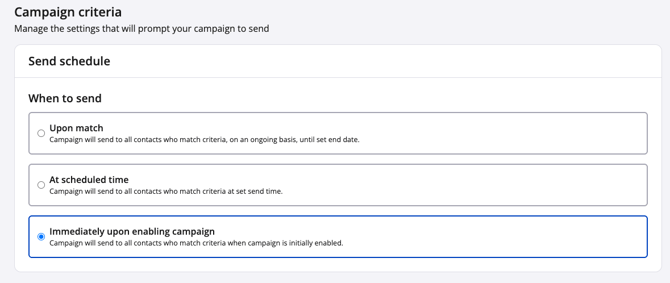
6. The Campaign criteria step determines when the campaign will send and which participants will receive it. The following send schedule options are available:
-
Upon match: The campaign sends automatically to all participants who meet the selected criteria on an ongoing basis until the configured end date. (Ensure all campaign start and end dates are configured appropriately.)
-
At scheduled time: The campaign sends to all participants who meet the selected criteria at a specified date and time.
-
Immediately upon enabling campaign: The campaign sends immediately to all participants who currently meet the selected criteria once the campaign is enabled.
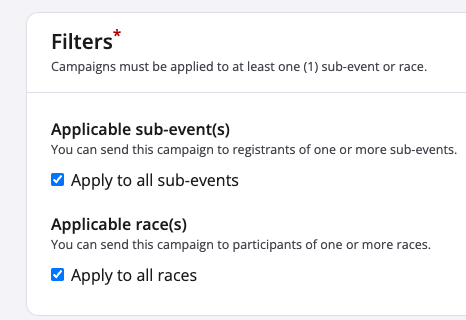
7. Still on Criteria, Filters determine which participants will receive the campaign. Campaigns can be filtered by:
- Sub-events
- Races (results sets created within the Results dashboard)
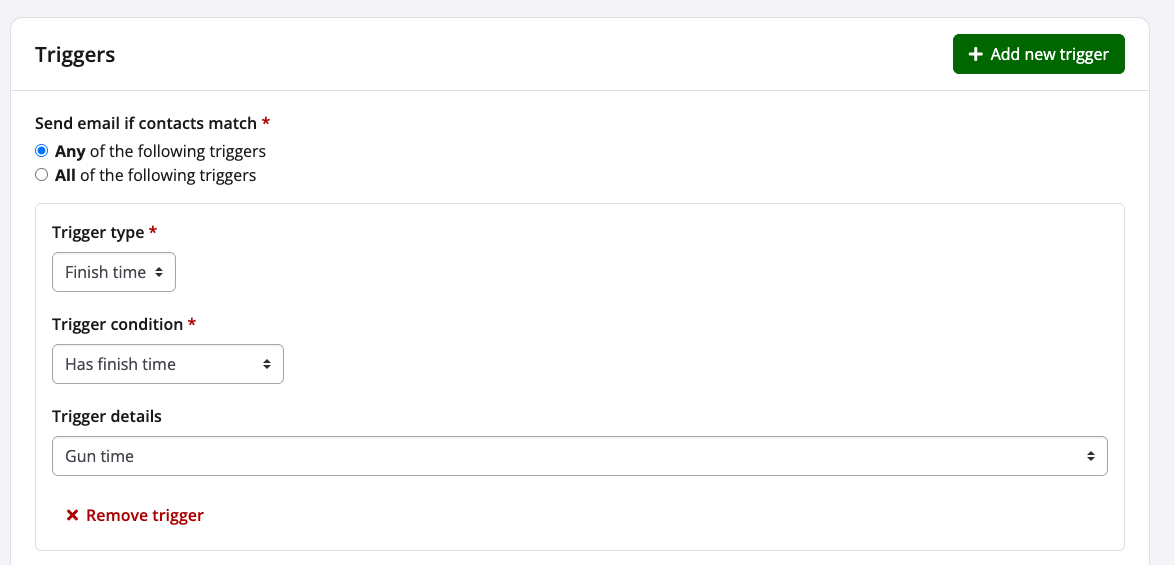
8. Last in this area, Triggers determine which participant actions or results will initiate the campaign send. Available trigger options include:
- Finish time (Gun, Chip, Virtual)
-
Challenge progress
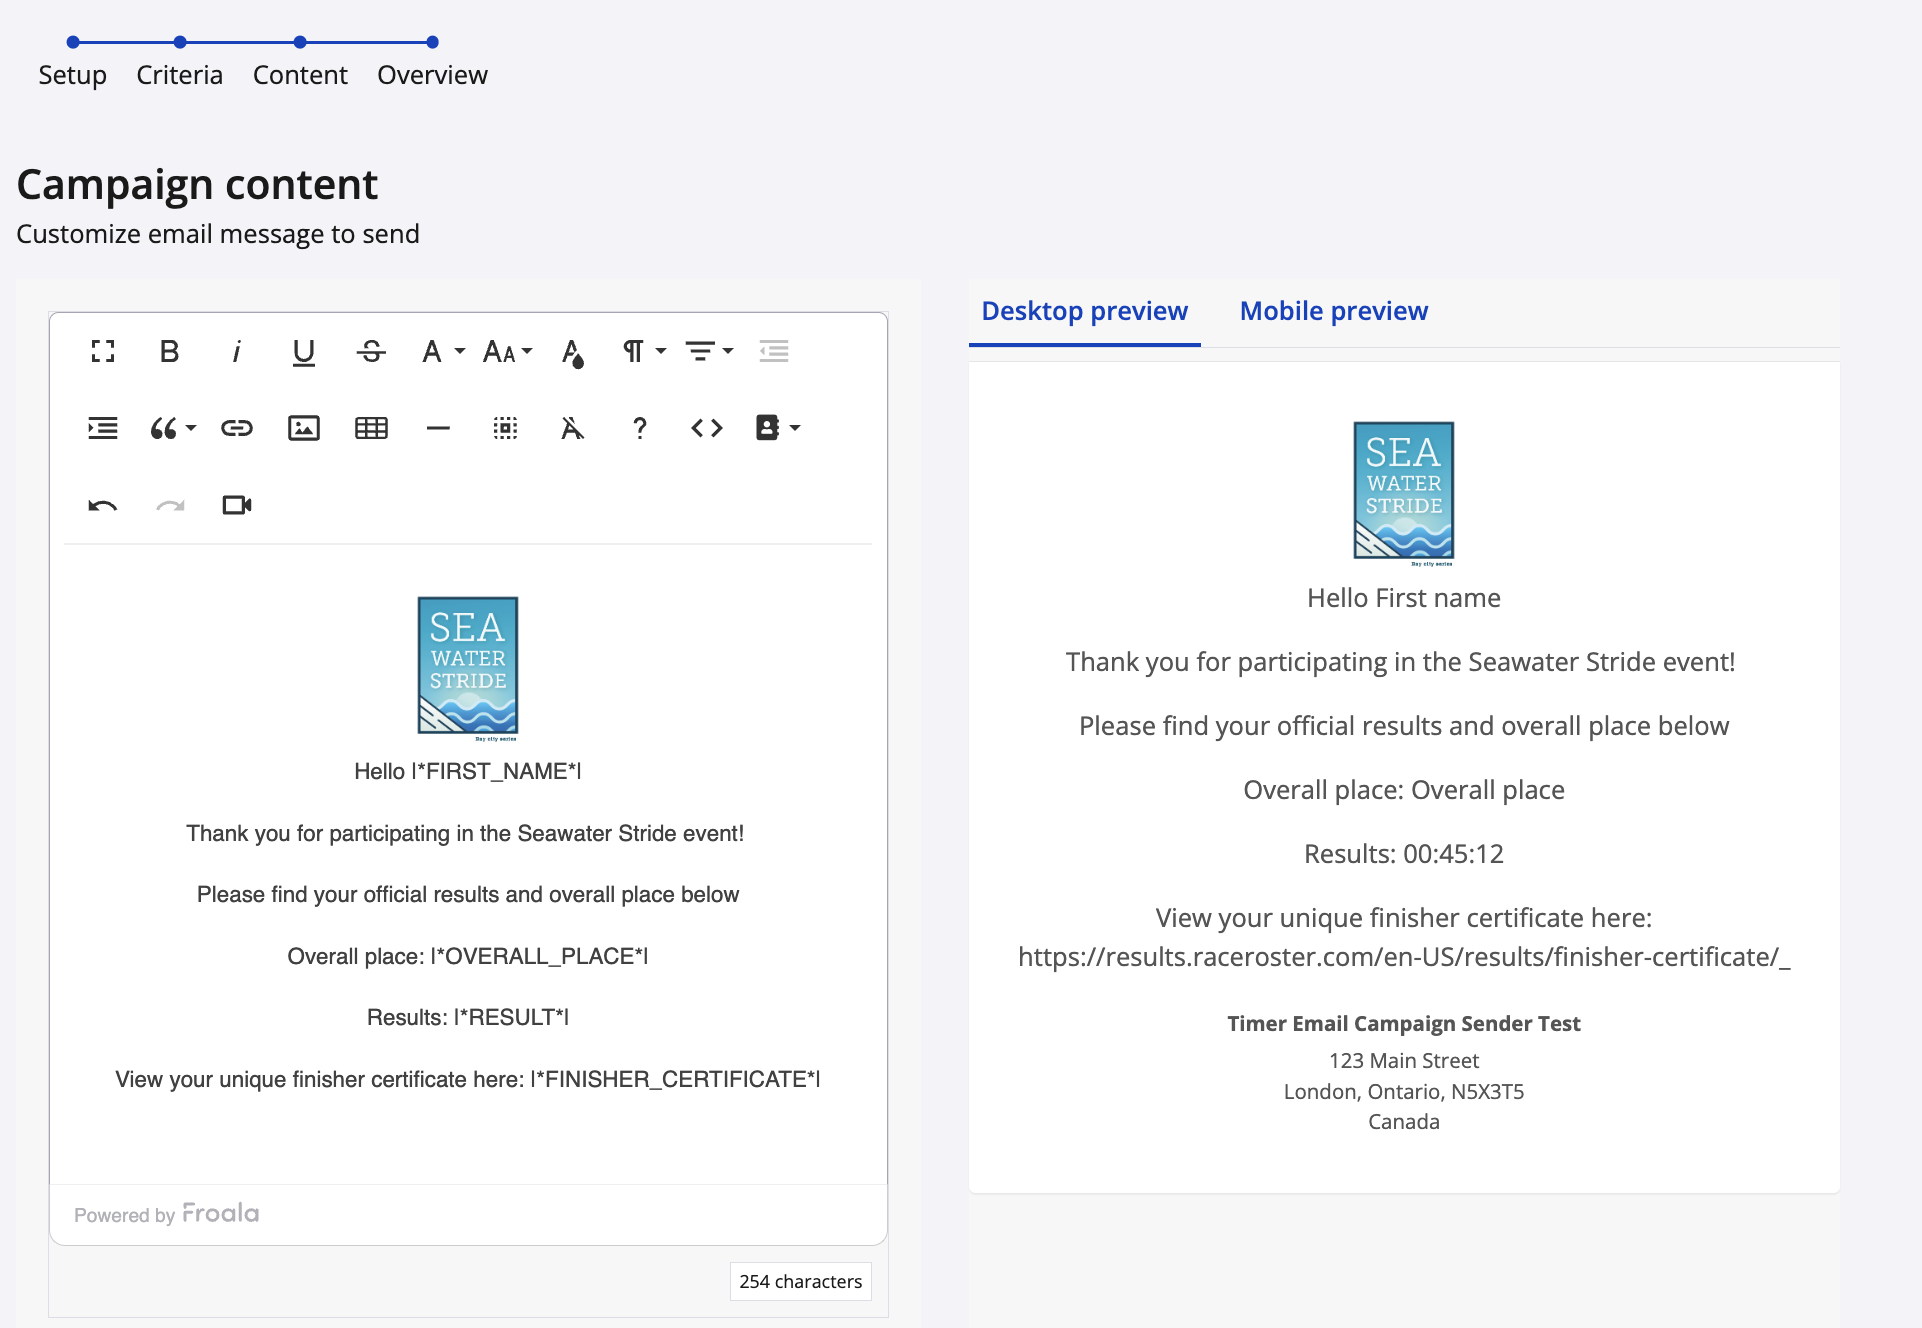
9. On the Campaign content step, draft and customize the email campaign.
Merge tags can be used throughout the email to personalize content for each participant. Available merge tags are listed HERE.
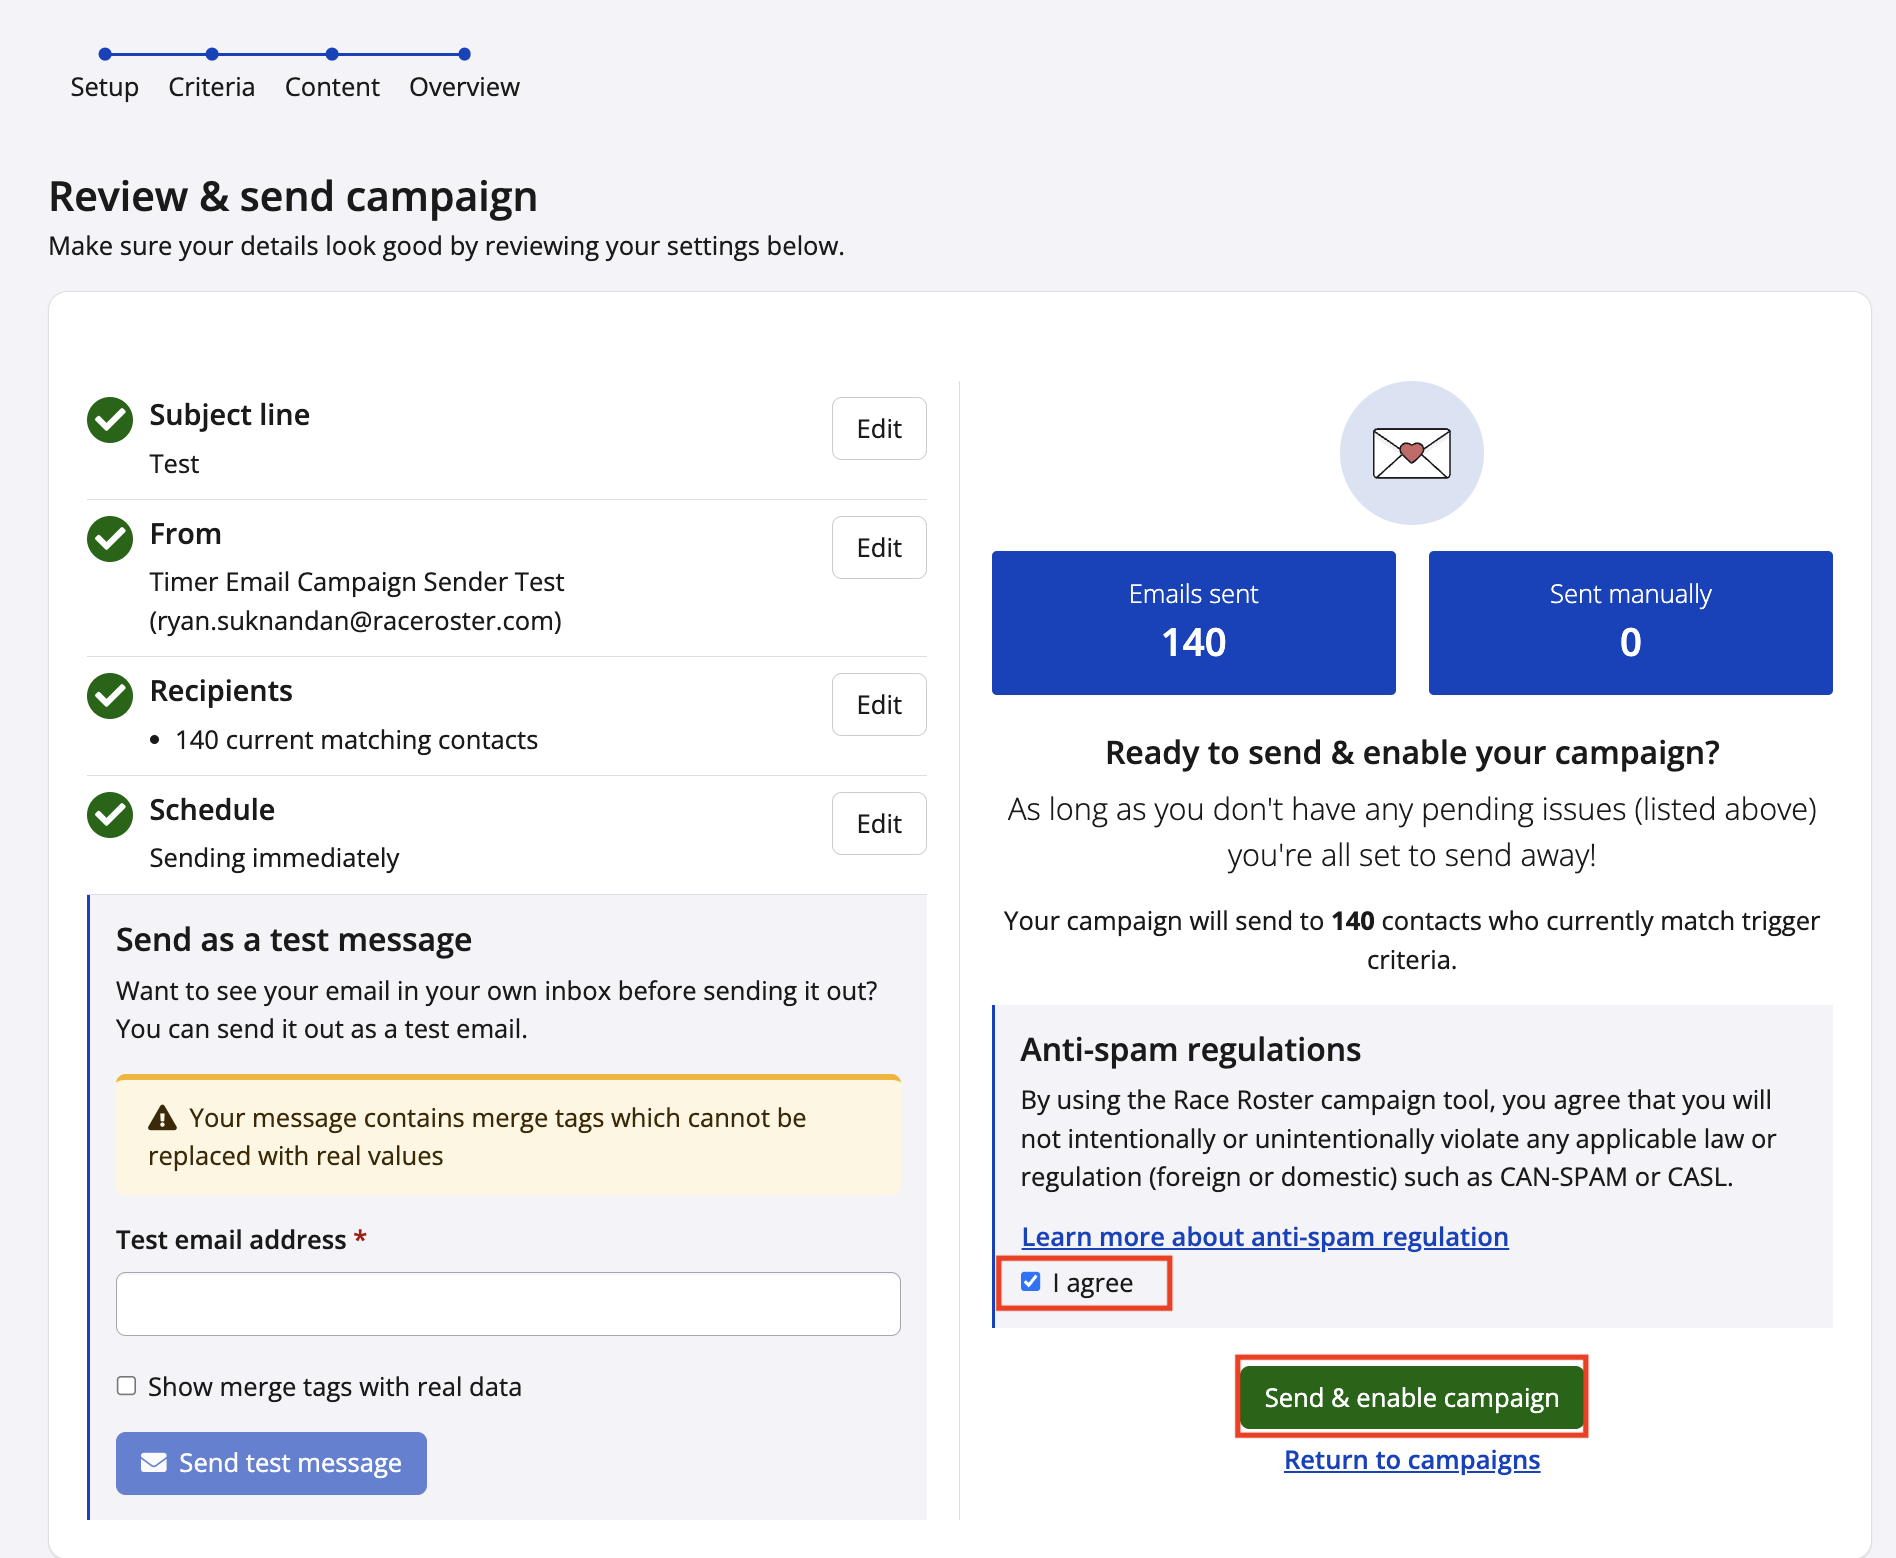
10. The final step is the Overview page. Review all campaign details displayed on the left-hand side of the screen before sending.
Test emails can be sent to a personal email address to review formatting and content before enabling the campaign.
11. Once satisfied with the setup:
- Review and Agree to the anti-spam regulations
- Click Send & Enable Campaign
The campaign will then begin sending based on the filters and triggers configured during the Criteria step.
Participants will receive personalized Timer email campaigns automatically once the configured campaign conditions have been met.