
Event organizers can set up a new event from their home page. New event organizers that have not previously set up an event on Race Roster will need to select Book a call with our team to get started on the platform.
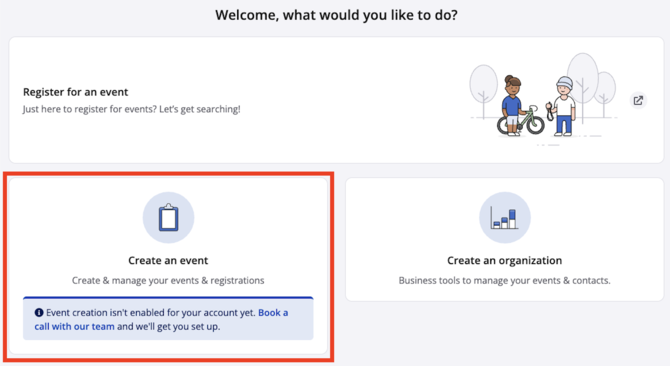
Once a user has permission to create events, the following steps can be used to set up a new event:
1. On the home page, select the + Create button and Create an event.

2. Enter the Event information. To create an event, an owning organization will need to be selected first. Please reference the article How to create an organization on Race Roster.
3. Complete all required fields, including the event details (Event name, Summary & Type), Location details, Event & Registration dates, and the Fee settings.
4. Select the Create event button at the bottom of the page. The event will then be created and in Draft status.
5. Event organizers are required to complete 7 required steps. The Event information step is completed when creating the event.
- Event information
- Contact information
- Payment information
- Sub-events
- Pricing
- Tax settings
- Branding
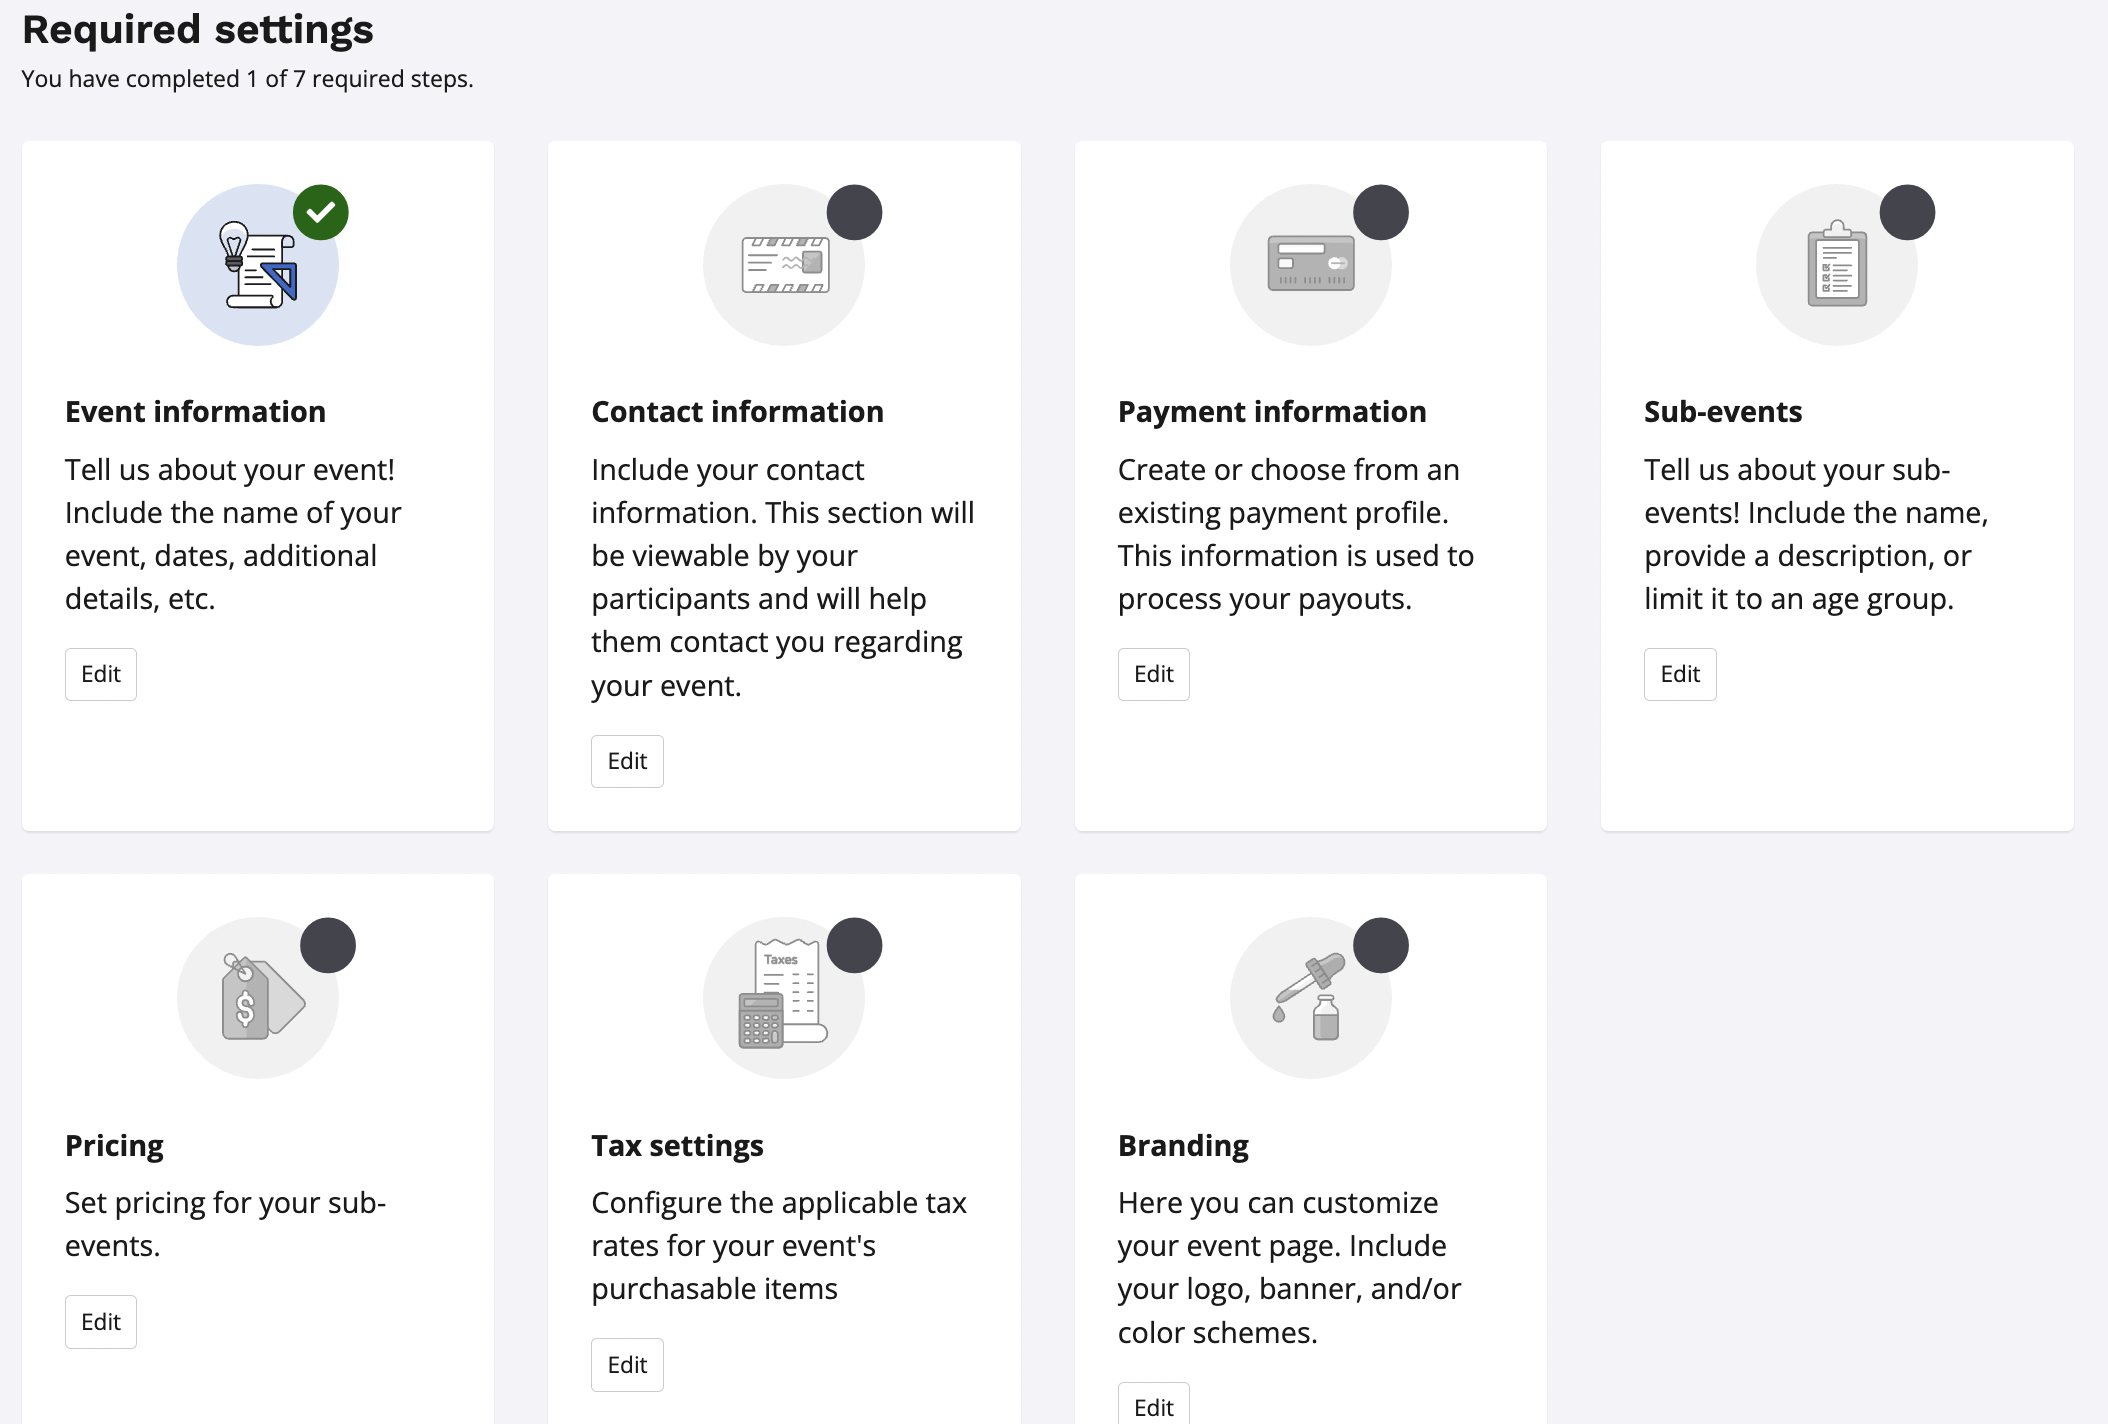
6. Once all required steps are completed, the event can be updated to Live or Private status. Please reference the article How to take an event live.
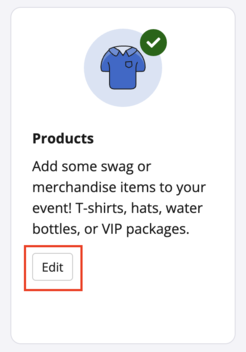
7. Scroll down to the Recommended settings and Add-ons in the Settings overview prior to updating the event Live or Private status. If an event requires additional features (i.e. fundraising, teams, products/merchandise, etc.), these optional settings can be added.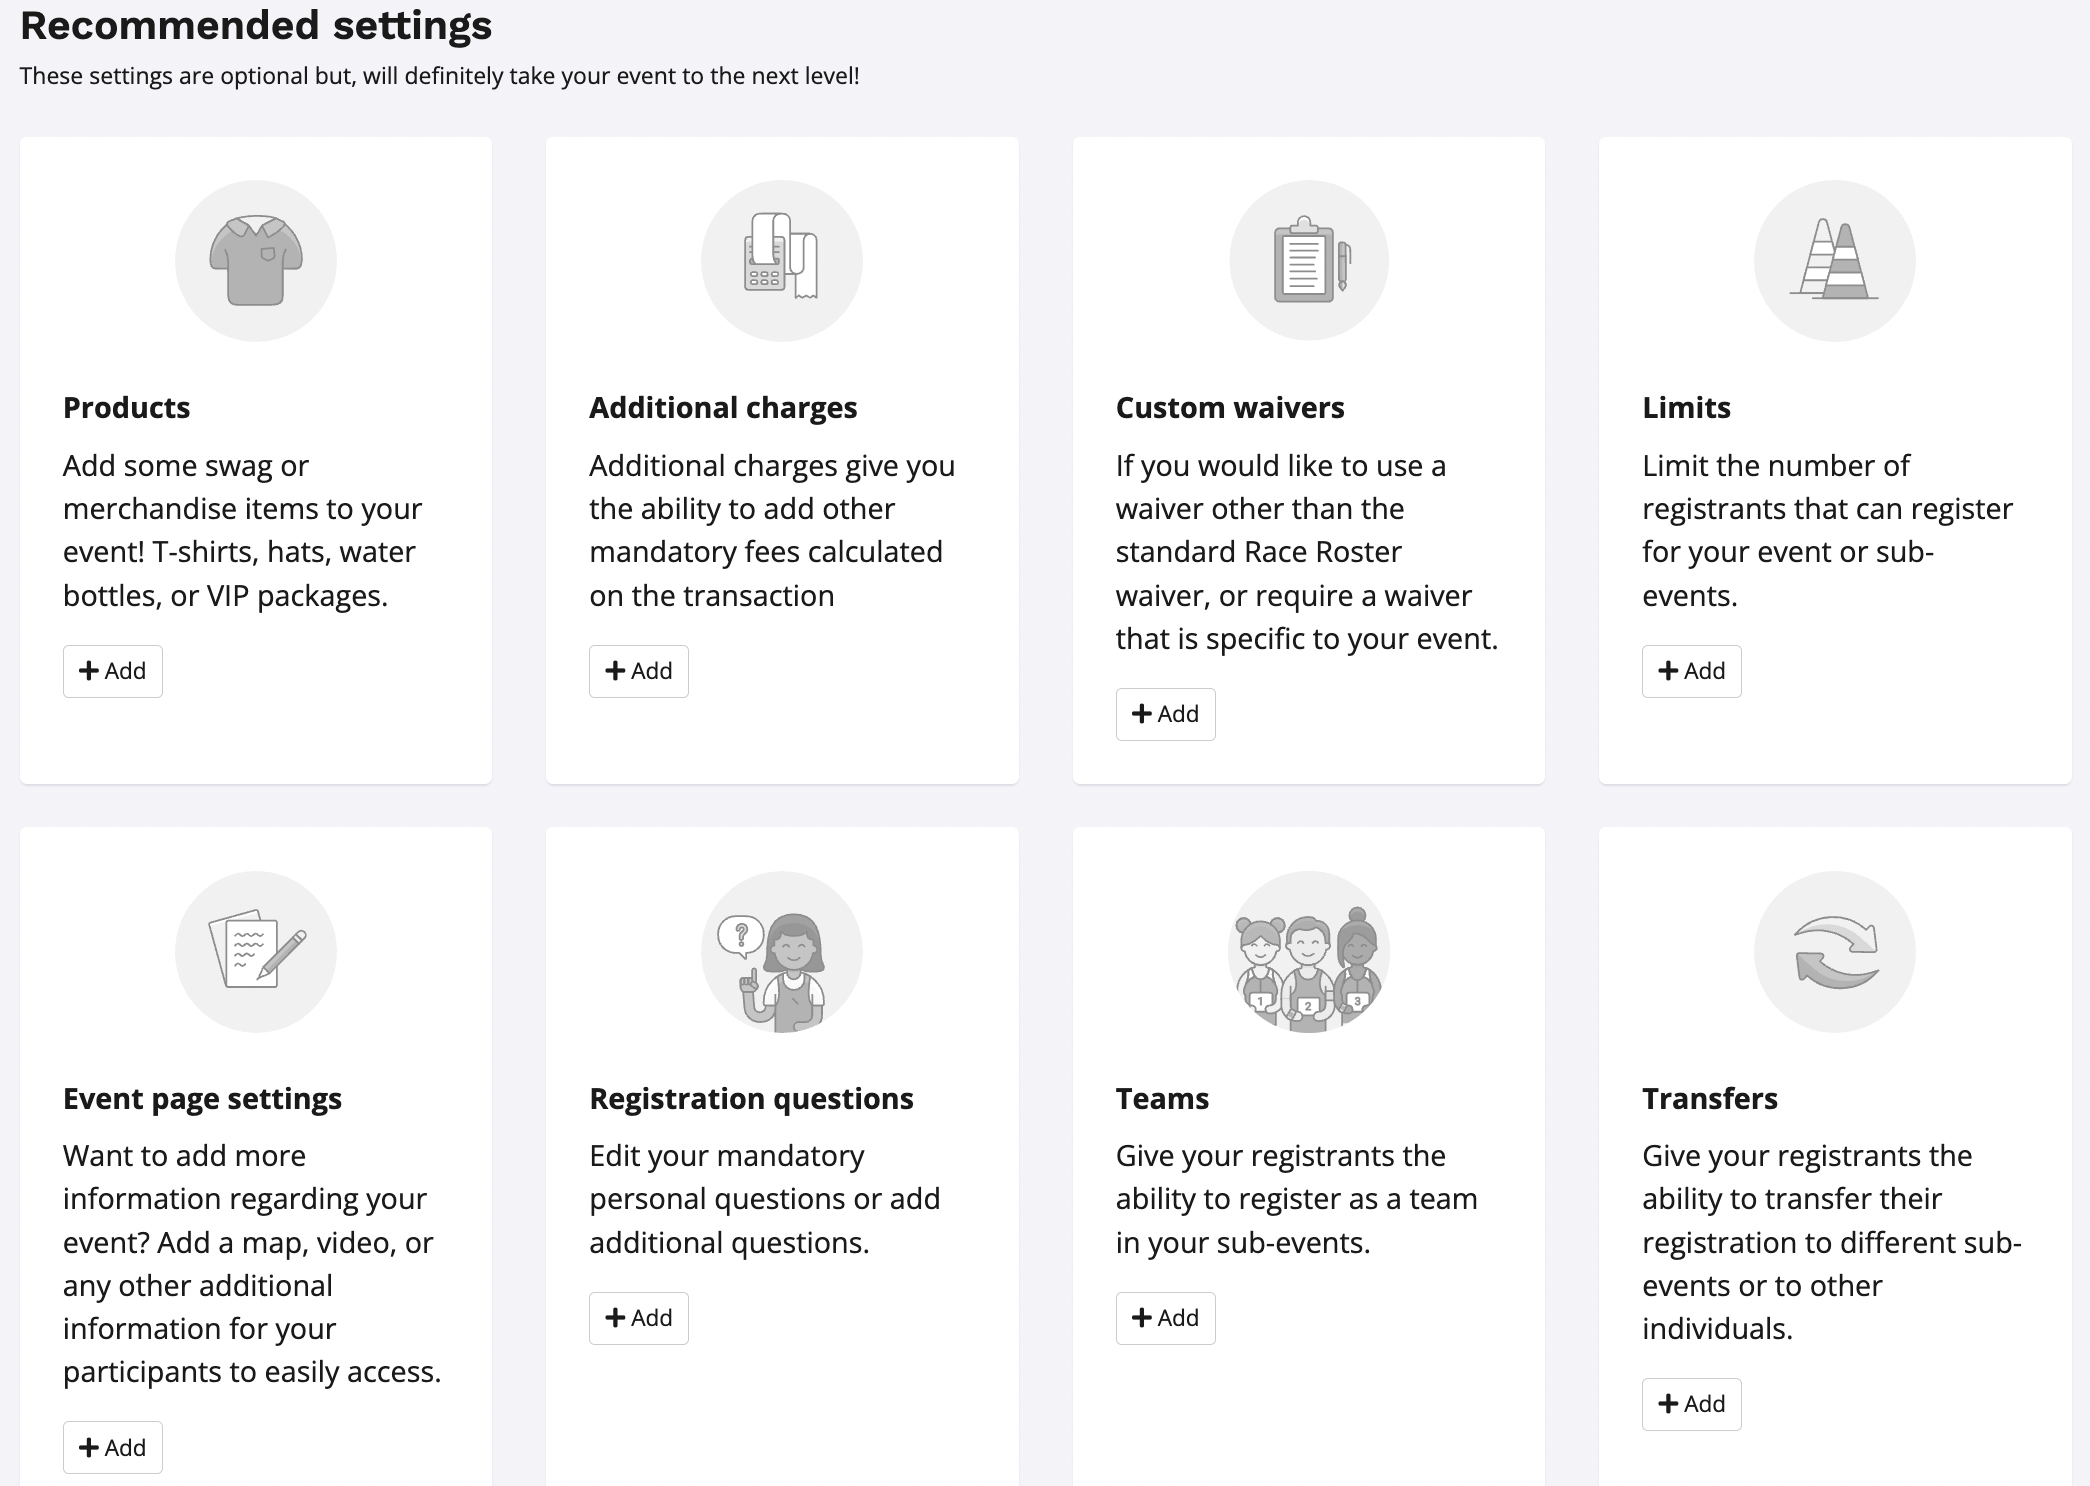
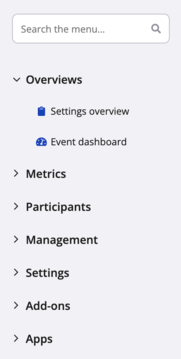
8. Once a setting has been added, select Edit or search the menu on the left for the settings to make adjustments.
Note: If the event has been created on Race Roster before, it does not need to be set up as a new event and can be duplicated instead. The settings can be copied to a new event page for the following year. See the article How to duplicate a registration page for more information.
For additional assistance creating events, please contact our team.