
This article outlines how to create an Organization-owned payment profile through Stripe connect. This applies to Events and Non-profits across all standard currencies USD, CAD, AUD, GBP, EUR, NZD, JPY, AED, SGD, SEK, MYR, THB).
1. Log into Race Roster: https://raceroster.com/dashboard/welcome
2. Navigate to the Organization tab and click View dashboard of the applicable Organization
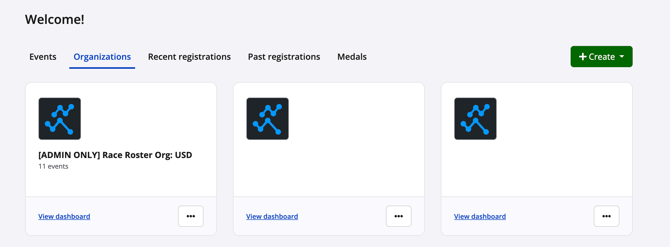
3. Go to Organization Dashboard > Settings > Payment Profiles.
If you do not yet have an organization, please follow the instructions in our other article, How to create an organization on Race Roster, before proceeding.
2. Click Create.
3. Fill in a short Race Roster form:
- Profile title: which event/non-profit is this profile being used for?
- Financial admin email: who can access the payment details of
- Notification emails -- who should receive payout notifications?
- Country -- in which currency are you collecting funds?
- *Currency will be pre-selected based on the Organization currency.
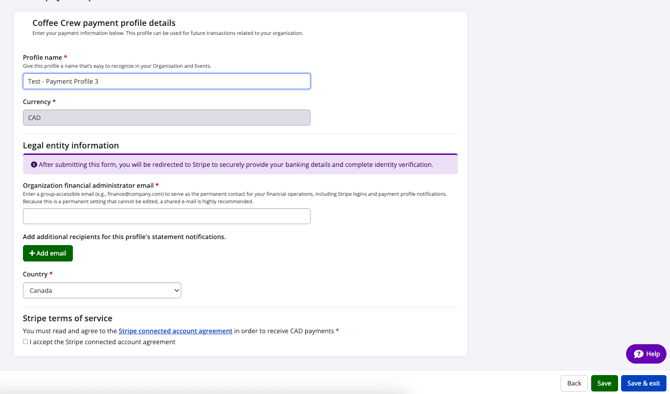
- If you do not have an Organization currency set up, you will see an error message and not be able to proceed to the next step. You can set up Organization currency from Settings > Organization details.
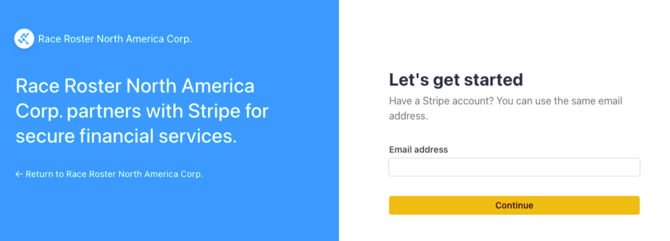
4. You will then be redirected away from Race Roster to Stripe
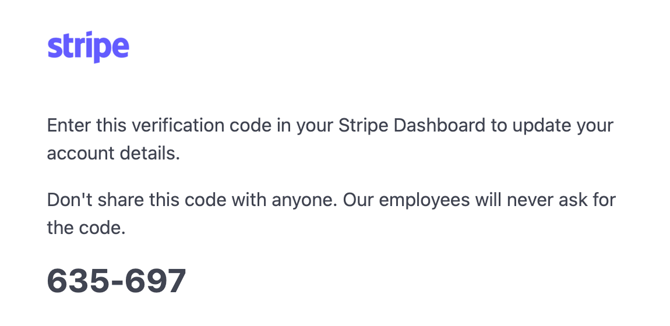
- Stripe will ask if you 'Have a Stripe account'. Enter the same address that was used for the Financial admin email in Race Roster. You will then be emailed a code to verify your account.
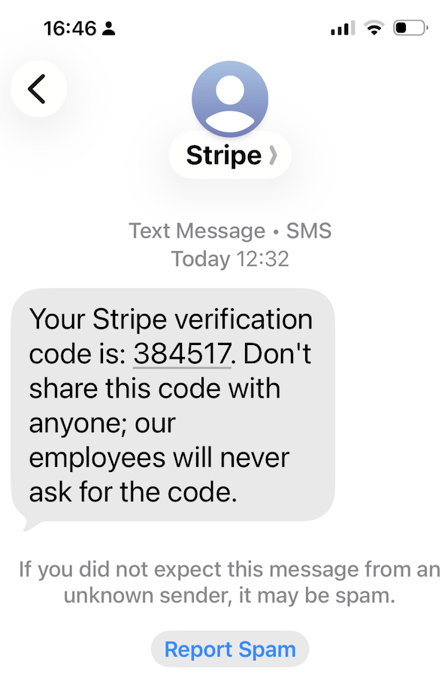
- This will be followed by a SMS to verify your phone number
Next, enter banking and business details:
- Entity type is selected within Stripe's onboarding portal. Please select the correct type (ie/ Business, Non-profit) before you proceed through the form.
- If you are a charity/non-profit entity, you must select Non-profit as the entity type when creating your Stripe profile.
- Important: All details need to be completed in Stripe before the profile is created and approved. Please ensure you have the information needed from your banking institution and business organization before completing this step.
Note: For USD accounts, Stripe has the option to connect to an account for all major banks instead of filling in the banking details. To bypass this, select Enter bank details manually.
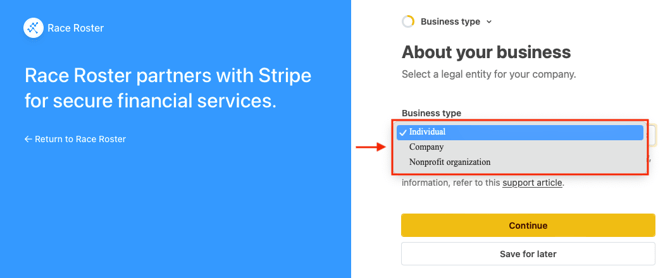
On the Stripe Connect profile page, you will see various fields prompting for entry. Before proceeding, use the dropdown menu at the top to select "Business type".
On the new page, use the "Business type" dropdown menu to select accordingly. New fields may appear for further categorization. Once you are satisfied, click the yellow "Continue" button. Screenshot follows.
On the next few pages, you will be prompted to enter information according to previous selections. If you have difficulty filling out certain fields (e.g., legal names, business/nonprofit registration numbers, etc) we recommend getting in touch with the treasurer, accountant, board or executive team at your organization. Stripe also provides a support centre which may be useful. Screenshot follows with an example of such a page.
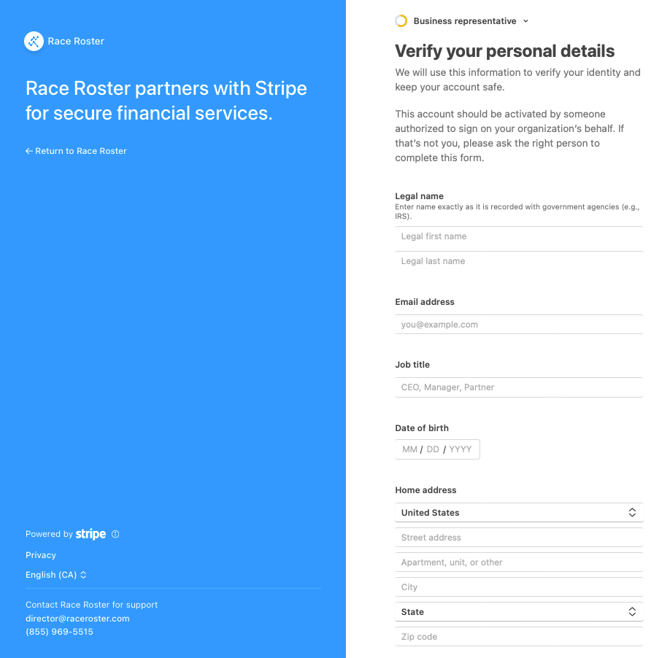
Bear in mind that you may instead click the white "Save for later" button to continue your progress after you have collected the information. You may save the URL to the Stripe Connect page, or re-enter it from your Race Roster account's payment profiles page (see above).
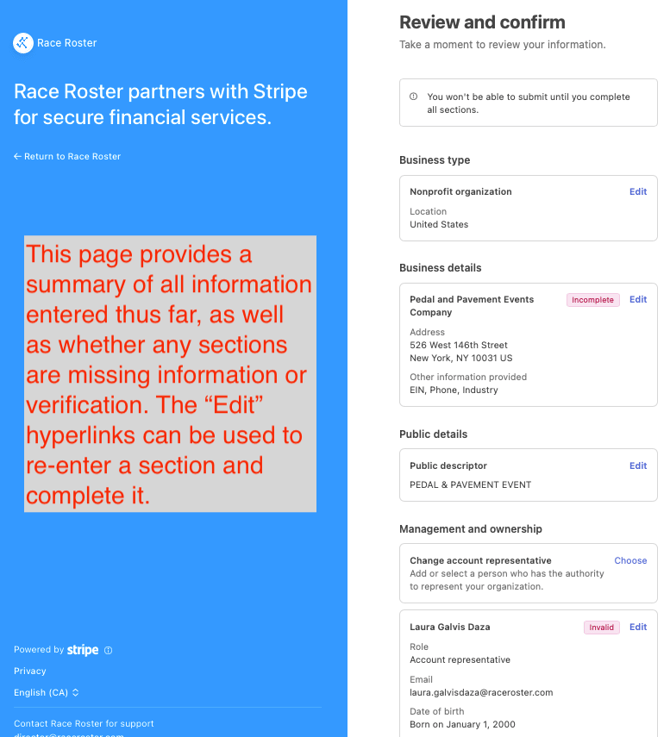
You will eventually arrive at a page titled "Review and confirm", summarizing the information you have entered. If any sections haven't been verified or completed, a small pink label will appear. The "Edit" hyperlinks can be used to return to a section. Screenshot follows.
Once all information fields are complete, click the yellow "Confirm" button at the bottom to submit all information. You will be automatically directed back to Race Roster. Stripe will review the information and documents that you have provided.
5. Return to Organization Dashboard > Settings > Payment Profiles where your profile will now be created.
Note: If ever you see "Stripe pending" next to your profile, you must re-enter the Stripe portal to complete the outstanding information.
Additional notes:
- Another user may have already created the organization you are looking for. Talk to your fellow event organizers to ensure you are granted access.
- For authorized currencies, the CRM organization that you select will dictate the currency of the Stripe Connect payment profile.
- All organization-owned payment profiles are accessible to staff members associated with that organization (and its events). Once created, an organization payment profile can be attached to other events within the organization by authorized staff.
- Personal profiles (used for referral payouts) don't currently support Stripe Connect.
Important:
All new event and non-profit payment profiles will now be created through the owning Organization.
Your existing event and fundraising payment profiles will be attached to your Organization and are accessible through the Organization Dashboard. You will still be able to manage Personal earnings profiles through your Account Settings.
Exceptions to creating a Stripe connect payment profile:
VND and IDR currencies -- Race Roster processes transactions in VND and IDR using the payment processor, Adyen. For more information about setting up a payment profile for these currencies, please contact director@raceroster.com.au for assistance.
Government and Military entities -- These entities are unable to set up a Stripe connect account. If your entity falls under either of these categories, please contact director@raceroster.com for assistance.
If you are having trouble creating or unable to create a Stripe connect payment profile for any reason, please contact us.