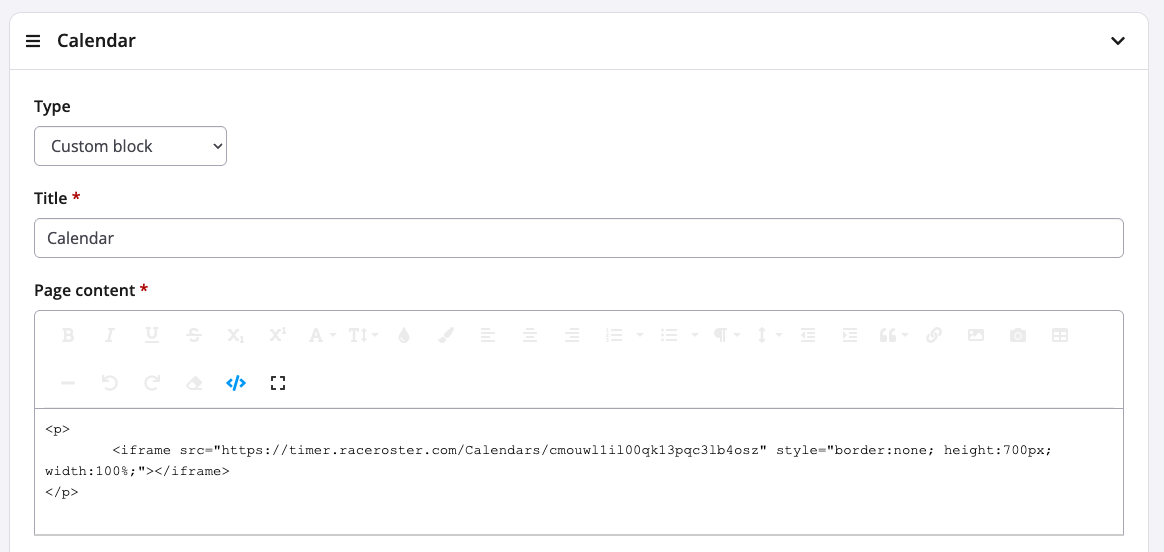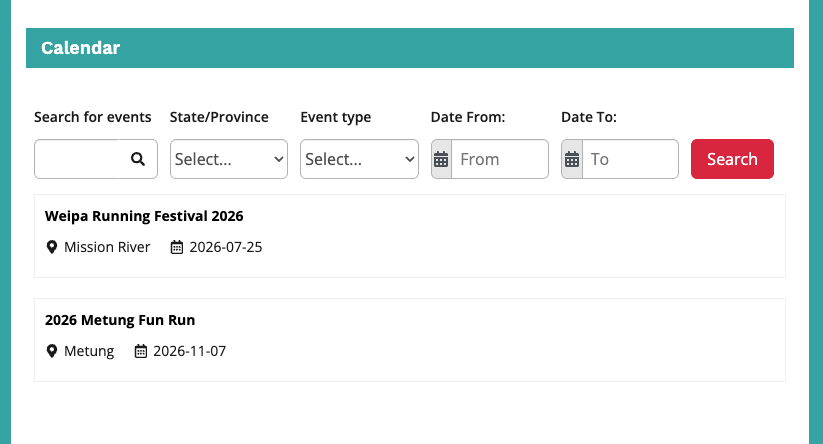
Timer Calendars allow timers, Event Organizers, and production companies to create branded calendars showcasing both upcoming and past events. These calendars can be embedded into external websites using an iFrame and customised to match existing branding and website styling.
Timer Calendars are commonly used to promote annual race schedules, display historical event results, and provide participants with a centralised view of events managed by a timer or organisation.
Please note: If both a Past Events calendar and a Future Events calendar are required, separate calendars must be created for each.
Creating a Timer Calendar
1. Log in to the Race Roster Timer Dashboard.
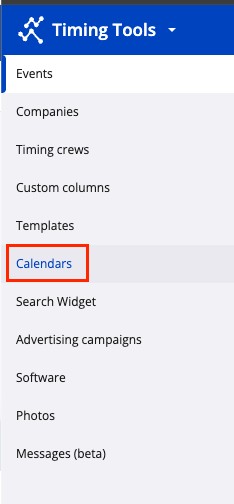
2. From the left-hand navigation menu, select Calendars.
3. Click Create Calendar
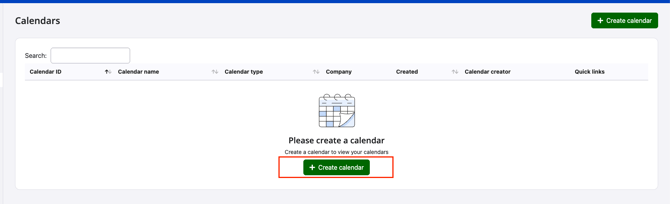
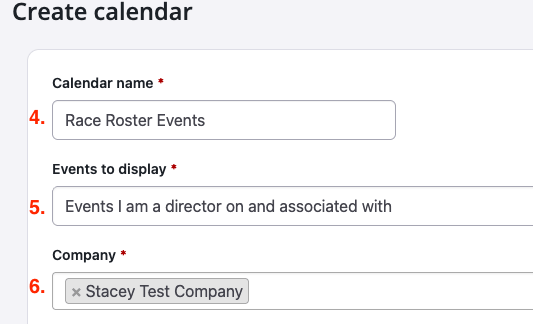
4. Enter a Calendar Name
5. Under Events to display choose the nominated event pool based off- Events I am director on
- Events I am director on and associated with
- All associated events
6. Choose the Timer Company (and Timing Crew if applicable)
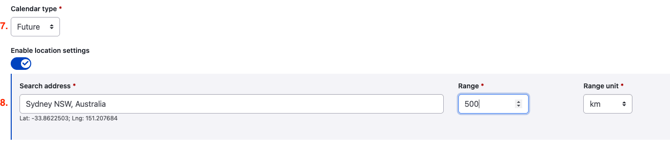
7. Under Calendar type, select whether the calendar will display:
- Future events
-
Past events
8. Optionally Enable location settings to only make visible events within a certain range (ie 500km of Sydney NSW, Australia)
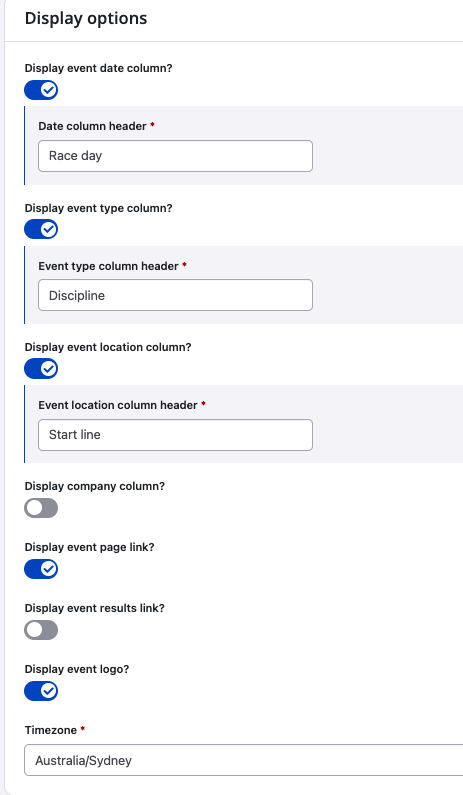
9. Under Display options links and columns can be included in the calendar display:
-
Display event date column: Header can also be amended (ie Race day)
-
Display event type column: Headers can also be amended (ie Discipline)
-
Display event location column: Header can also be amended (ie Start line)
-
Display company column (& logo)
-
Display event page link
-
Display event results link
-
Display event logo
-
Timezone
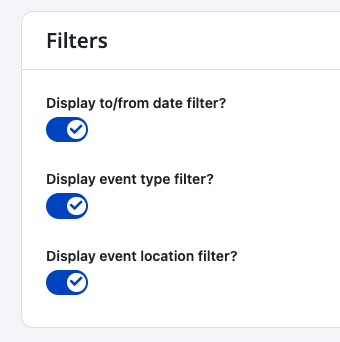
10. Under Filters, choose which filtering options to display:
- Display To/From date filter
- Display event type filter
- Display event location filter
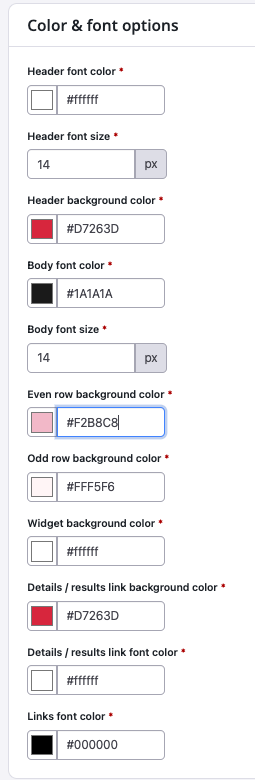
11. Brand the calendar under Color & font options. The calendar appearance can be customised to align with existing website branding and styling, including:
- Header font colour
- Header font size
- Header background colour
- Body font colour
- Body font size
- Even row background colour
- Odd row background colour
- Widget background colour
- Details/results link background colour
- Details/results link font colour
- Links font colour
12. Toggle Custom link to display a custom link button attached to Race Roster and Timer events.
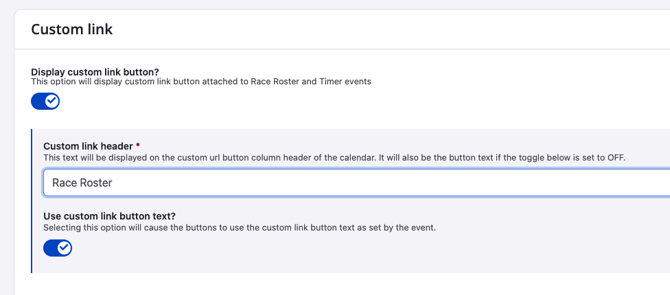
Note: Ensure this is turned on to use the Custom calendar link event page Add-on
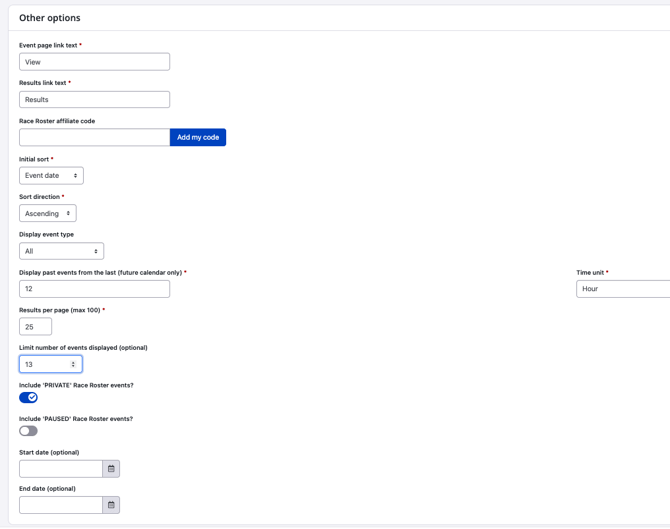
13. Other options include additional calendar behaviour and display settings that can be configured, including:
- Event page link text
- Results link text
- Race Roster affiliate code
- Initial sort: Choose Event type, date, name or location for the pre-set sort
- Sort direction: Choose Ascending or Descending
- Display event type: Choose to only display one event type (ie just Running events)
- Display past events from the last (future calendars only): Choose to include events from the previous x hours, days or months
- Results per page: max 100
- Limit number of events displayed: Optional
- Include ‘PRIVATE’ Race Roster events
- Include ‘PAUSED’ Race Roster events
- Start date: Optional
- End date: Optional
- iFrame ID
- iFrame height: default 700px
- iFrame width: default 100
- iFrame width unit: default
15. Click Save
Review
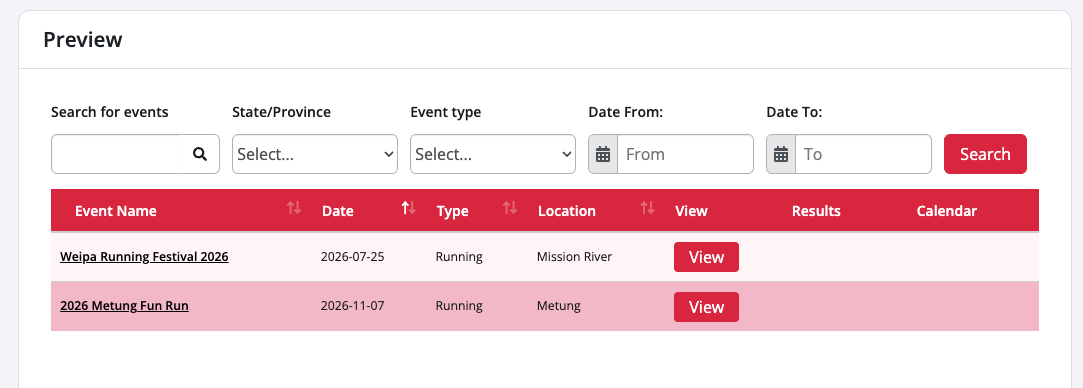
Once saved, the calendar can be previewed on the left of the screen and further adjusted as needed.
Embedding a Timing Calendar on an Event Page
1. Navigate to the Event Dashboard
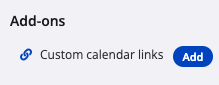
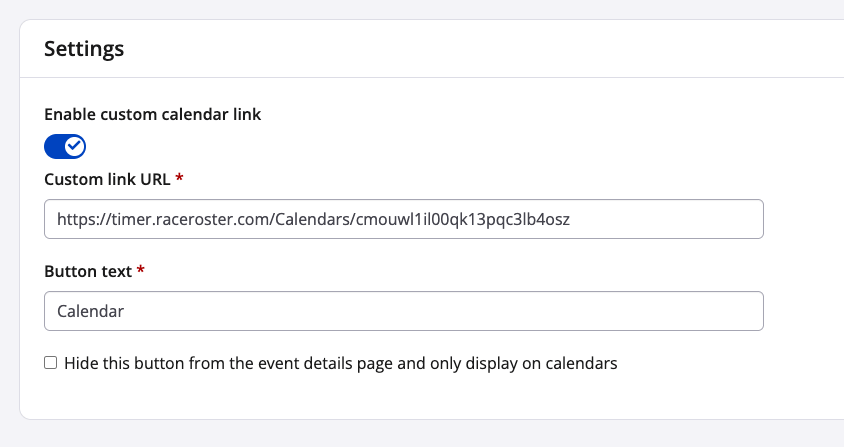
2. Select Custom calendar links under Add-Ons
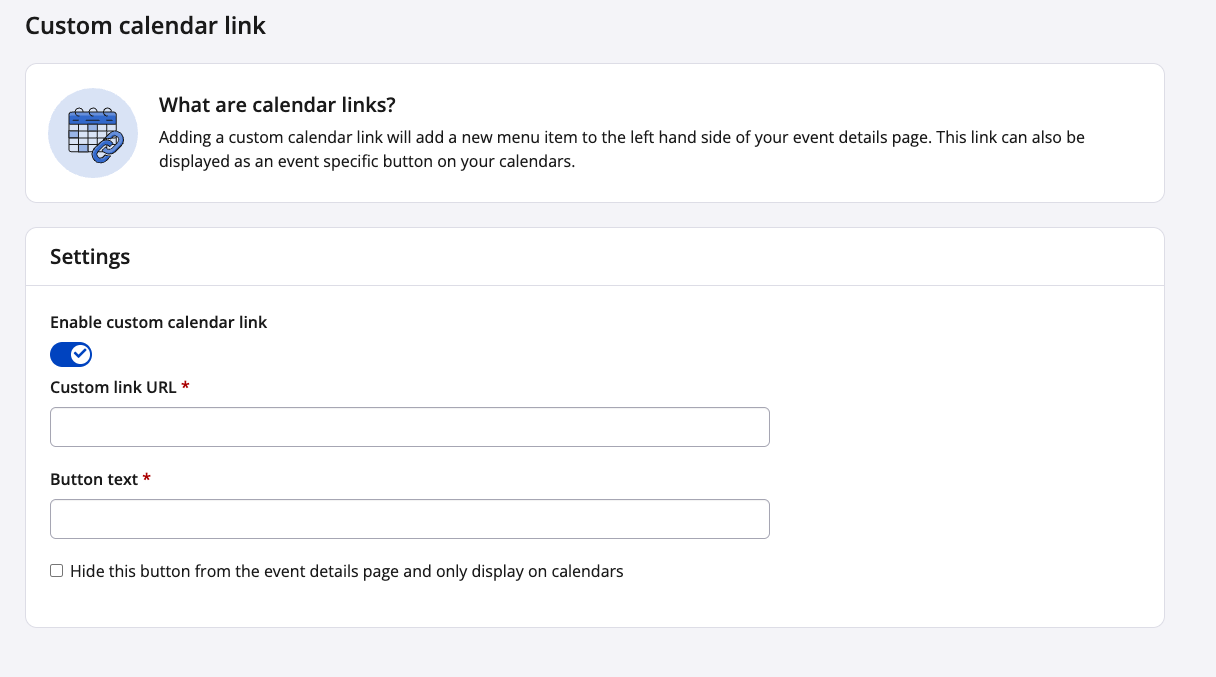
3. Paste in the Custom link URL and Button text. The Calendar URL is found in the Embed widget legacy iframe snippet 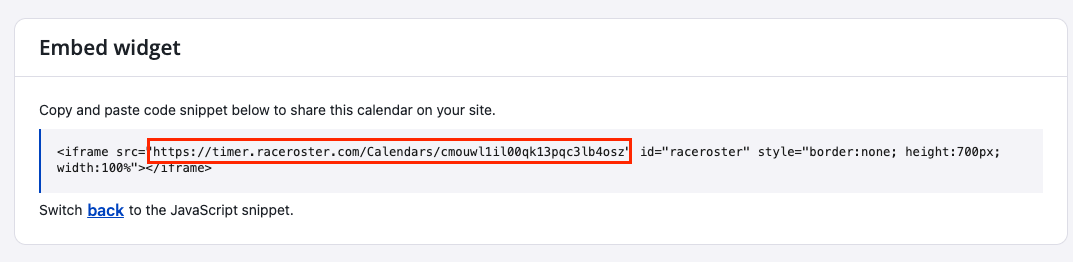
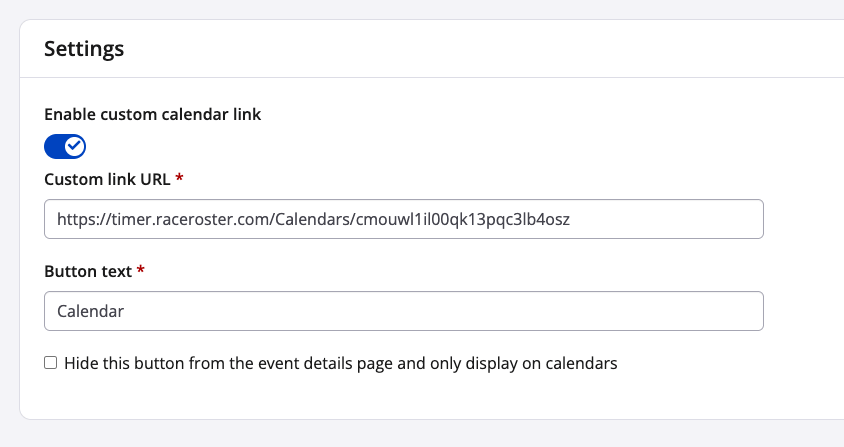
4. After saving the Calendar link will appear in the sidebar of the event page
5. Alternatively the entire Embed widget legacy iframe snippet can be pasted into a Custom page (Custom pages & links) or on the Event page (Event page settings). Ensure Code view is enabled when pasting the script.