
IMPORTANT NOTICE:
As of August 18, 2026, Race Roster is upgrading the event-level email campaign editor experience. Effective this date, all new campaigns created within the event email campaign tool will use a new editor, Unlayer. This new editor is the same one already used in Race Roster CRM email campaigns—a design tool that is easier to use, contains more features, and ultimately helps you create polished campaigns faster.
As of January 1, 2027, campaigns that use the legacy editor will no longer duplicate into new events. If any legacy campaigns exist, they will only be available for viewing and reference.
To learn about adjusting to the changes, read our other articles:
-
How to copy event email campaigns from legacy to the new editor
- How to copy new editor email campaigns between events
If you're looking for the legacy instructions that feature the traditional editor, please reference our other article:
To create or edit an email campaign using the new editor, please follow the steps below.
Setup instructions for new editor email campaigns
First, log into your dashboard as an Event Organizer of a specific event.
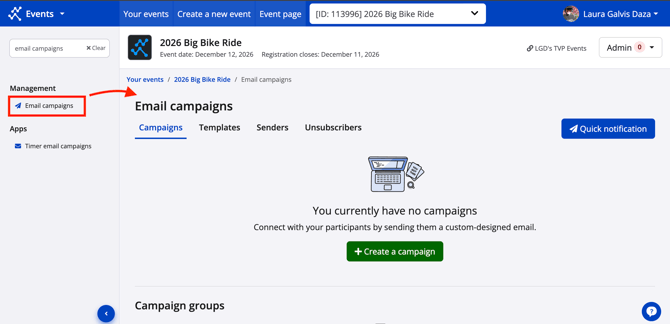
Then, navigate to the left of your screen to the search bar at the top of the navigation menu. Search and select "Email campaigns".
You will then land on the email campaigns overview page. Creating a campaign is an 8-step process.
Step 1: Select
1. After clicking the green Create a campaign button, select to either start from scratch or one of the pre-made campaigns. General campaigns provide a blank canvas with limited formatting. Pre-made campaigns have triggers and copy already set for the purpose. The pre-made campaigns are:
-
Social referral tool invitation
-
Abandoned registration reminder
-
Thank you for registering message
-
Personalize your fundraising page instructions
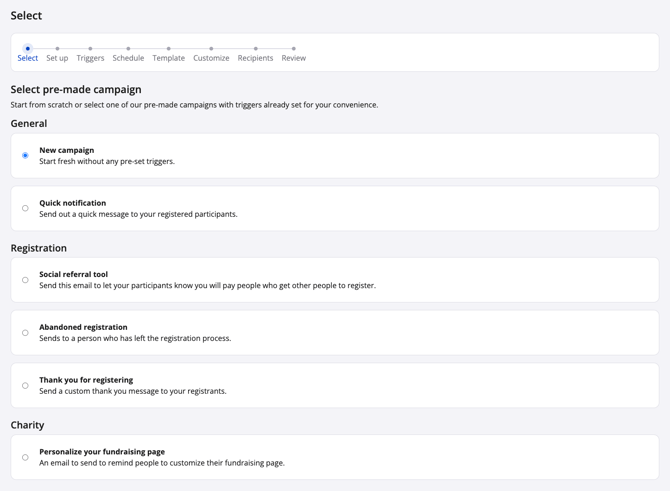
You are always able to adjust triggers and copy, no matter which type. Click the blue Save & continue button to proceed.
Step 2: Set up
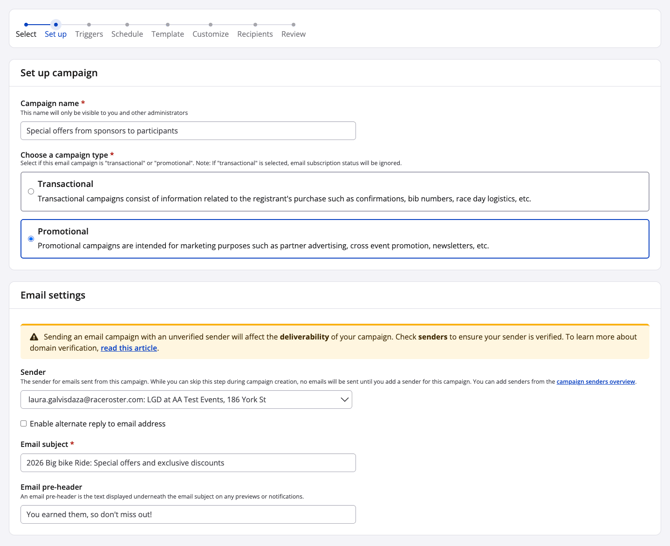
1. Name your campaign. The Campaign name will be visible to you as Event Organizer, from the event dashboard.
2. Choose a campaign type, whether Transactional or Promotional. Learn more from our other article, Understanding the two email campaign types.
3. Use the dropdown menu to select a Sender. If empty, create and verify a sender by clicking the blue campaign senders overview hyperlink in the fine print. Learn more from our other article, Adding a sender for email campaigns.
Tip: You may select the optional checkbox Enable alternate reply to email address in order to set a Reply to email address different from the sender email address. When a contact replies to the email campaign they've received, that email reply will be sent to your alternate reply-to, as opposed to your sender email address. The alternate must also be one of your verified senders.
4. Add the Email subject line, visible to the contacts whom you'll be triggering with the campaign, from their email inboxes. Optionally, you may also enter an email pre-header for additional detail at a glance.
Step 3: Triggers
Triggers are the logic that cause a campaign to send to a contact. The event contacts comprise the following:
-
participant list
-
volunteer list
-
fundraisers list
-
donation report
Based on the triggers selected, you target specific audiences within these contacts.
1. Select the trigger that applies to your campaign. Click Add condition if you need multiple conditions for a single audience.
For example, by selecting Send campaign if contacts match > all of the following conditions with the conditions Sub-event > is any sub-event and Date registered > is equal or less than > X date, the campaign will send to all participants, no matter what sub-event, who register up until X date.
Click Add condition if you need multiple conditions for a single audience.
2. Select "any of the following conditions" if fulfilling just one of the conditions is enough for the contact to be triggered. Select "all of the following conditions" if you only want contacts who match every single condition to be triggered by the campaign.
3. If you want the same campaign to go to separate audiences, you can click "Add a trigger" to create another set of conditions. Example: you may have a reason to trigger participants of the marathon who register up until X date, as well as participants of the half marathon who register up until Y date, but none of the other contacts.
Step 4: Schedule
Determine when the campaign will be sent:
- Send immediately: send as soon as a contact who matches the triggers is added to the list, or for bulk sending. Example: as soon as someone donates and becomes part of the donor list, they receive a "thanks for your donation" email.
- Delay sending: send X months/days/hours/minutes from the time the contact who matches the triggers is added to the list. Example: 24 hours after someone registers, they receive an email with race training content.
- Send at a set time: send to all contacts who match the triggers at a specific date/time. Example: everyone receives their bib number and corral assignment 3 days before the event, on November 4.
Please note that with the "set time" option, the campaign will show 0 contacts in the review step, at first. Event organizers can view the list of scheduled pending recipients by opening the campaign, selecting the three dots "..." button, choosing "Recipients", then "Pending recipients", and adjusting the date filter to a date after the scheduled send date.
Step 5: Template
Section under construction.
1. Choose whether you would like to create your email from scratch or start with a Race Roster default template.
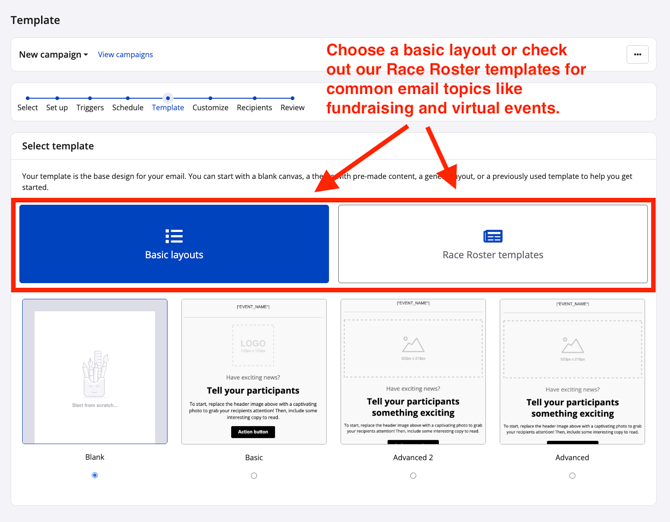
2. Select the template that you wish to customize and click "Save & continue"
Step 6: Customize
1. Edit or build your email from scratch. This process has never been easier with our integration of the Unlayer email builder. In this stage, you can do a lot:
-
add or edit text, tables, images, links
-
personalize the campaign to each contact using the merge tags icon
-
change the address and legal frame language if needed.
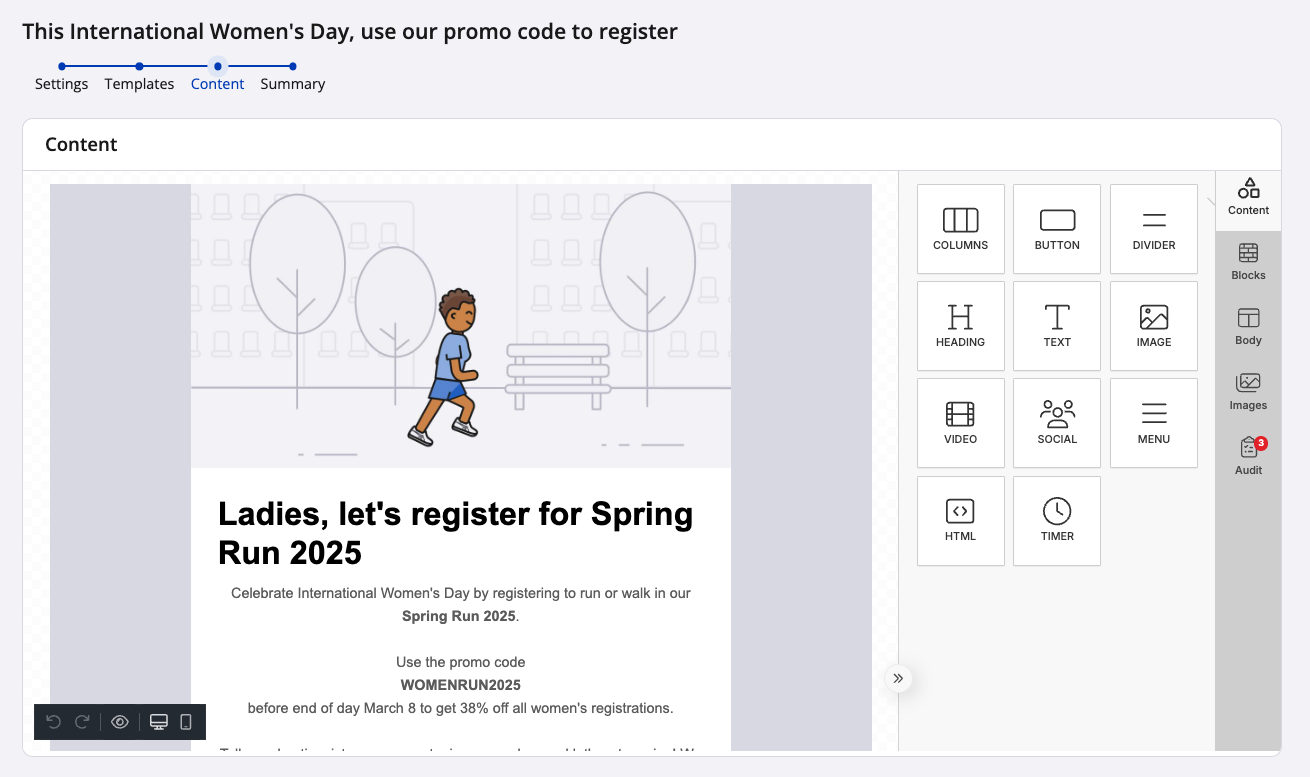
Drag-and-Drop to Add Content Blocks:
- The builder uses a simple drag-and-drop interface, allowing you to select any content block from the sidebar and drag it into your design.
- You'll find blocks like buttons, images, text, and more that can be quickly added to your email.
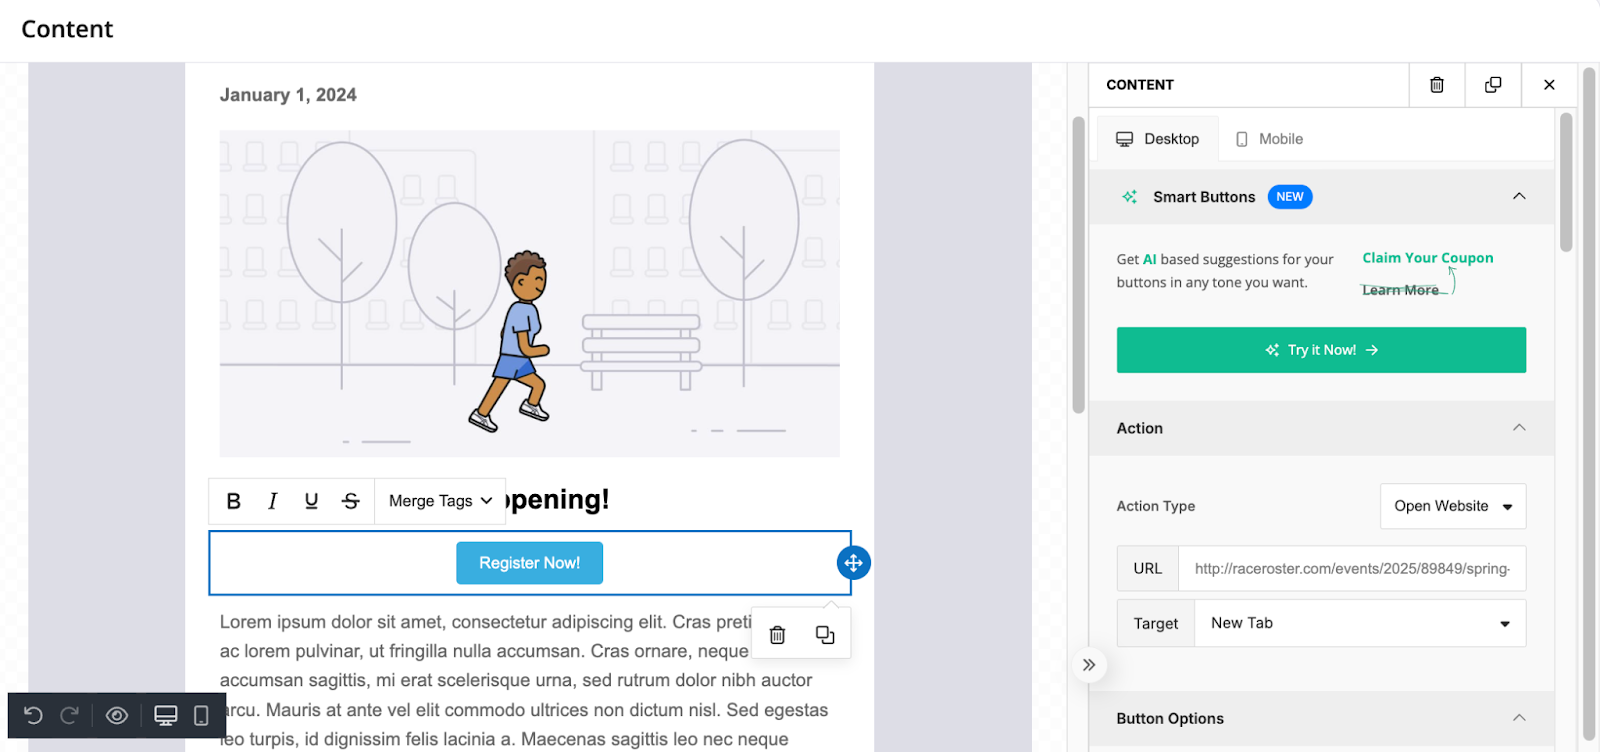
Add a Button Block:
- Drag the Button block into your email. You can customize the button's text, colour, size, and URL link.
- Once added, click the button to edit its properties. You can link it to any URL or adjust its style to match your design.
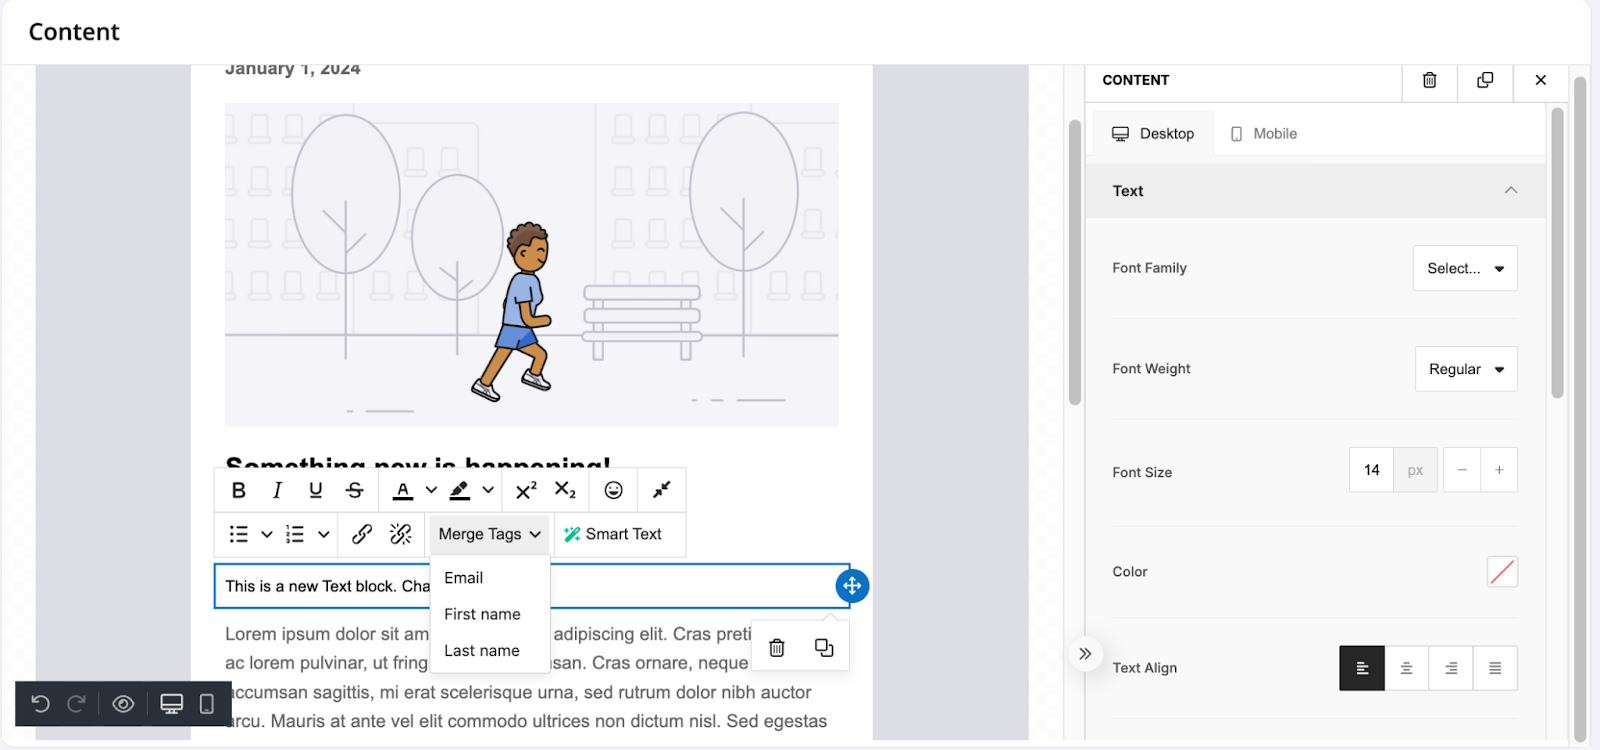
Add a Text Block:
- Add a Text block to include any content like headings, paragraphs, or lists.
- Click on the block, and you can edit the text directly. You can change the font, size, colour, and alignment to make it perfect for your campaign.
- Bonus: You can also insert merge tags in the text block. A merge tag is a dynamic placeholder, like the recipient’s first name or other personalized info, which will be automatically filled in when you send your email. Simply click the merge tag button and select the data you want to insert. This includes:
- First Name -
- Last Name -
- Email Address -
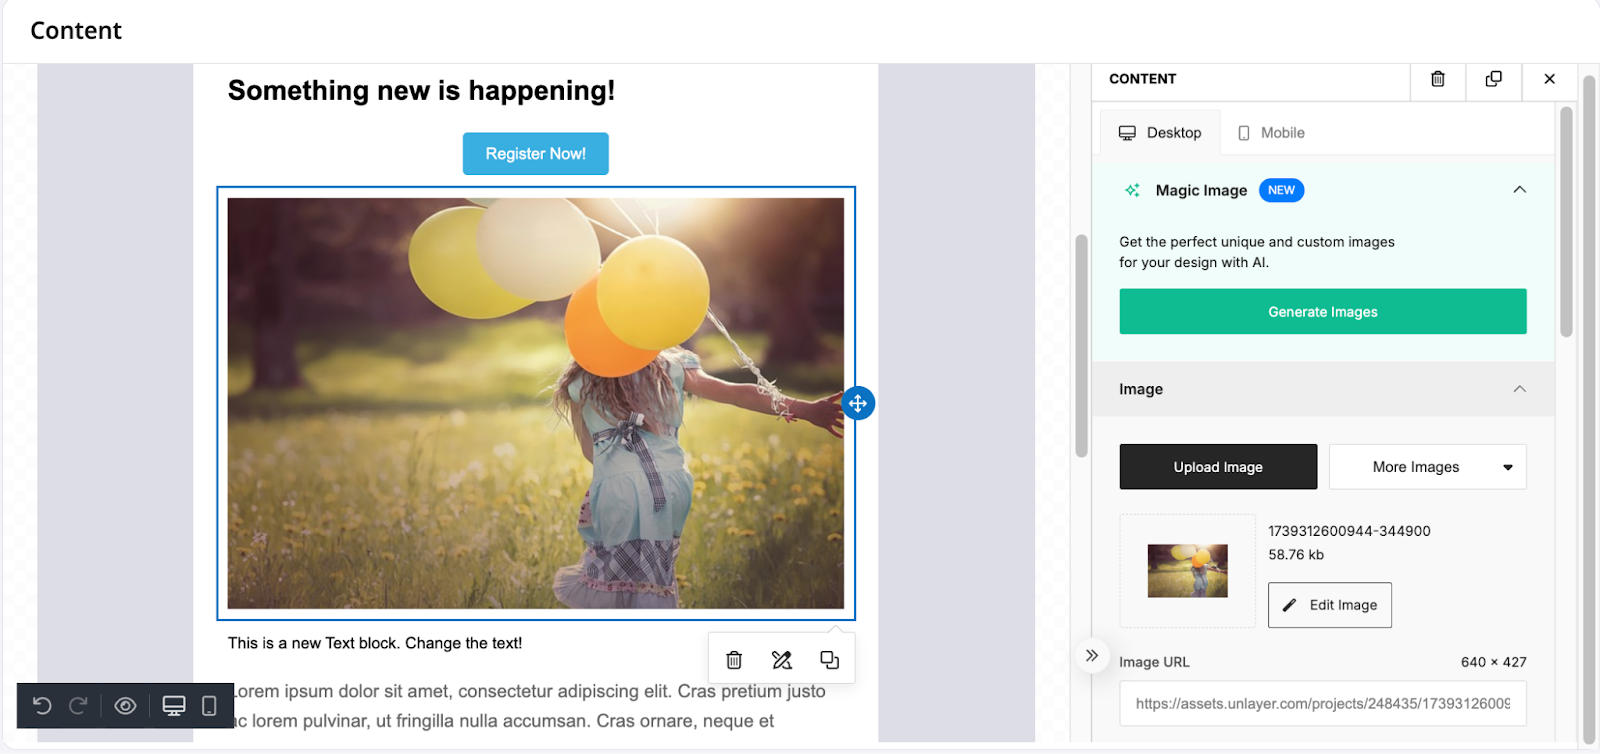
Insert an Image:
- Drag an Image block into your design to add photos, logos, product images, or artistic designs.
- Click the image block to upload an image file from your computer or choose from available images on the platform. Resize it as needed by dragging the corners.
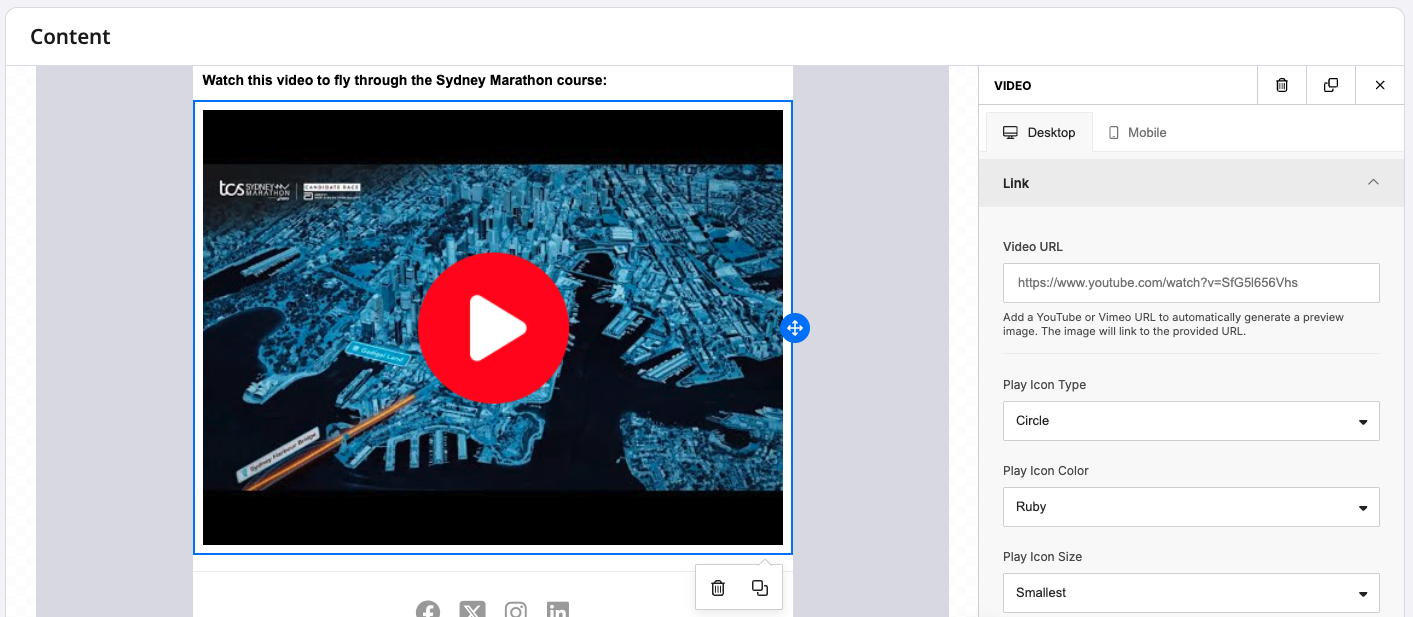
Insert a Video:
- Drag a Video block into your design to add a thumbnail and link to an online video or reel.
- YouTube, Vimeo, Vidyard and many other third party video sharing platforms are compatible. Just paste the video URL and tweak the icon and action settings to showcase this kind of content.
- Use cases include promotional videos about upcoming events; testimonial and impact videos about past events; interview reels of staff, volunteers and recurring participants; tutorials about procedures; etc.
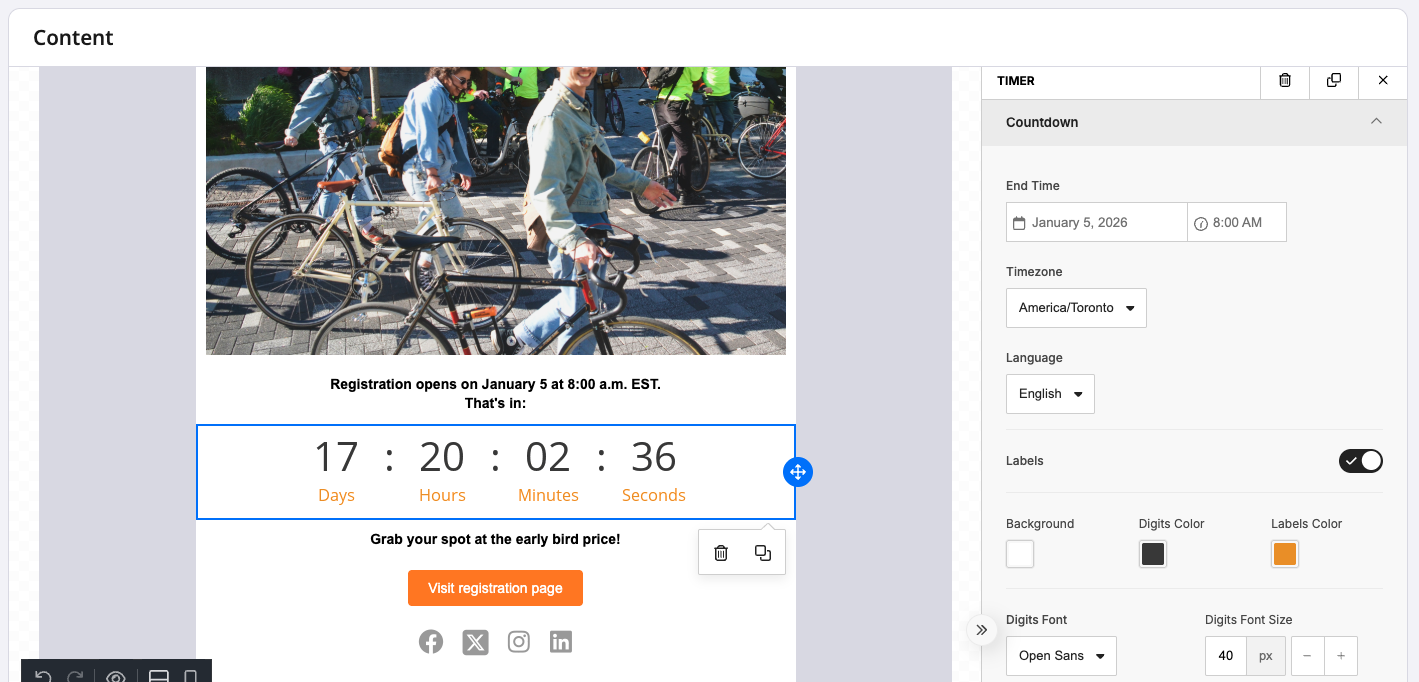
Add a Timer (i.e., Countdown):
- Drag a Timer block into your design to add a widget displaying an automatic countdown.
- Set your end date and time, timezone, and edit details such as labels, color, font, and size.
- Use this to create a sense of excitement or urgency for your audience, whether for the date that an event registration opens, the event date itself, when a sale starts or ends, and the like.
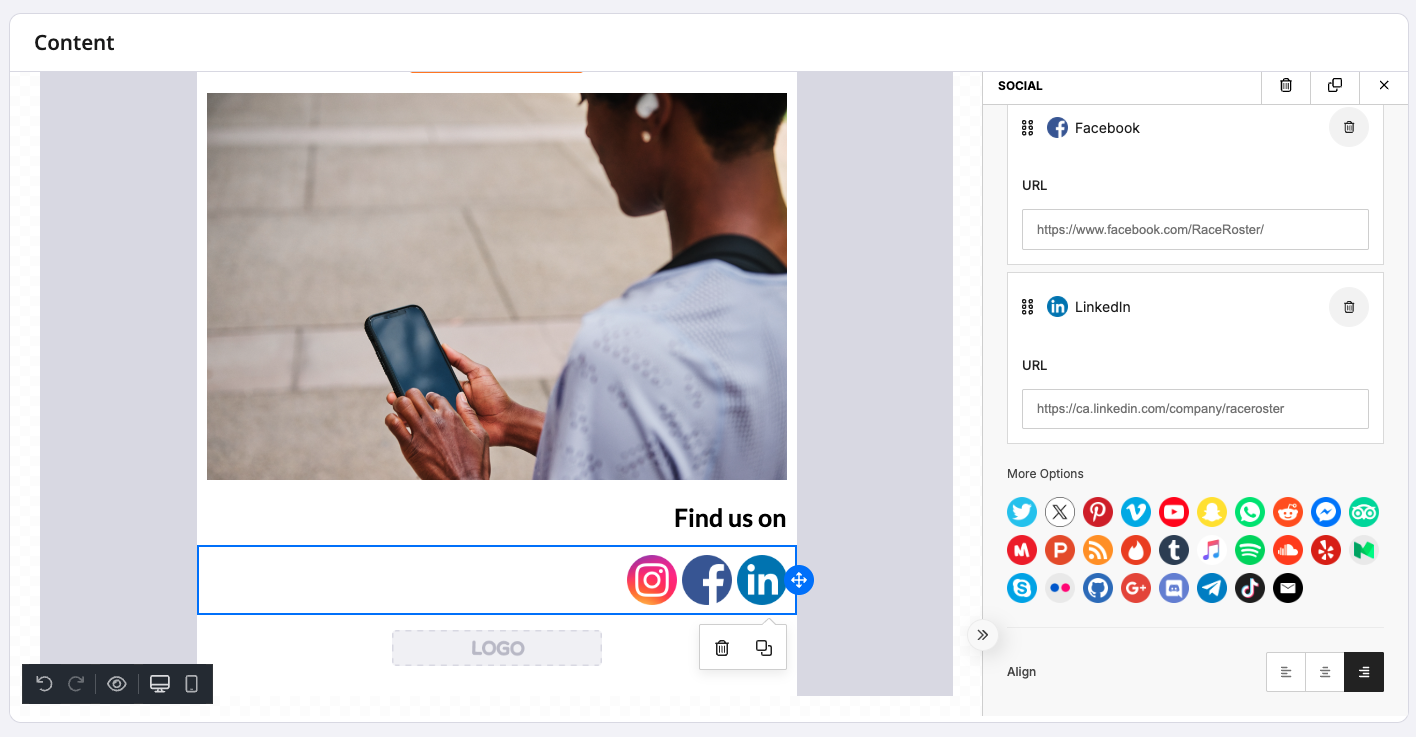
Link to Your Social Media Accounts:
- Add the Social block and choose which social media accounts to link within your campaign.
- No logo upload needed on your end. Select from over two dozen third party website and app options, with official icons preloaded, and settings to help match your brand (minimalist or full color, small or large, square or circle, etc).
- Insert the URLs to your accounts for easy, one-click access for email recipients.
- Showcase your social media content and gain more followers.
Audit tool:
- This built-in audit flags potentials problems with your campaign (for example, empty links) and suggests improvements related to compliance and quality standards.
Step 7: Recipients
1. Navigate to the section titled "Who are you sending this to?" and select accordingly:
- Current contacts who match set triggers: send the campaign to every eligible contact at the time of starting the campaign. New contacts who are later added to the list (new registrant, new donor) will not receive this campaign, even if they match the triggers and conditions.
- Future contacts who match set triggers: send the campaign to every eligible contact from the moment the campaign starts, and moving forward. The campaign will continue to send out until the registration end date.
- BCC recipients: if you would like the campaign to be sent to a specific email address(es) every time the triggers are matched. This is intended for internal use as a way for Event Organizers to track every email sent out of a campaign.
2. Toggle on "Only send to each email address once" if you'd like only one email sent to each unique email address on the list. This feature is best used for promotional communications. It is not recommended for sharing participant-specific data (such as bib numbers). Example: if 3 members of the same household registered using the same email address, such as the parent's, an email campaign containing bib numbers and corral assignments should be sent for each household member, so the toggle should be left off.
Step 8: Review
1. On this page, you will be able to view the number of contacts the email campaign is queued for (if applicable).
2. Navigate to the left side to ensure that all your conditions and configurations are set up properly. If anything is off or incomplete, click the "Edit" button to go back to that section and update.
3. You can test what a campaign will look like in an email inbox using the "Send as a test email" tool. Enter your email address (so that you may check the inbox) and, if you've used merge tags in Step 5, select from an existing contact to pull their real data into the test email.
4. Once you're satisfied with the settings and look, navigate to the right side. Check off on the user agreements and click the green "Start your campaign" button.