
Learn how to create, configure, and manage Products for event registration, including pricing, inventory, product options, availability dates, and registration settings..
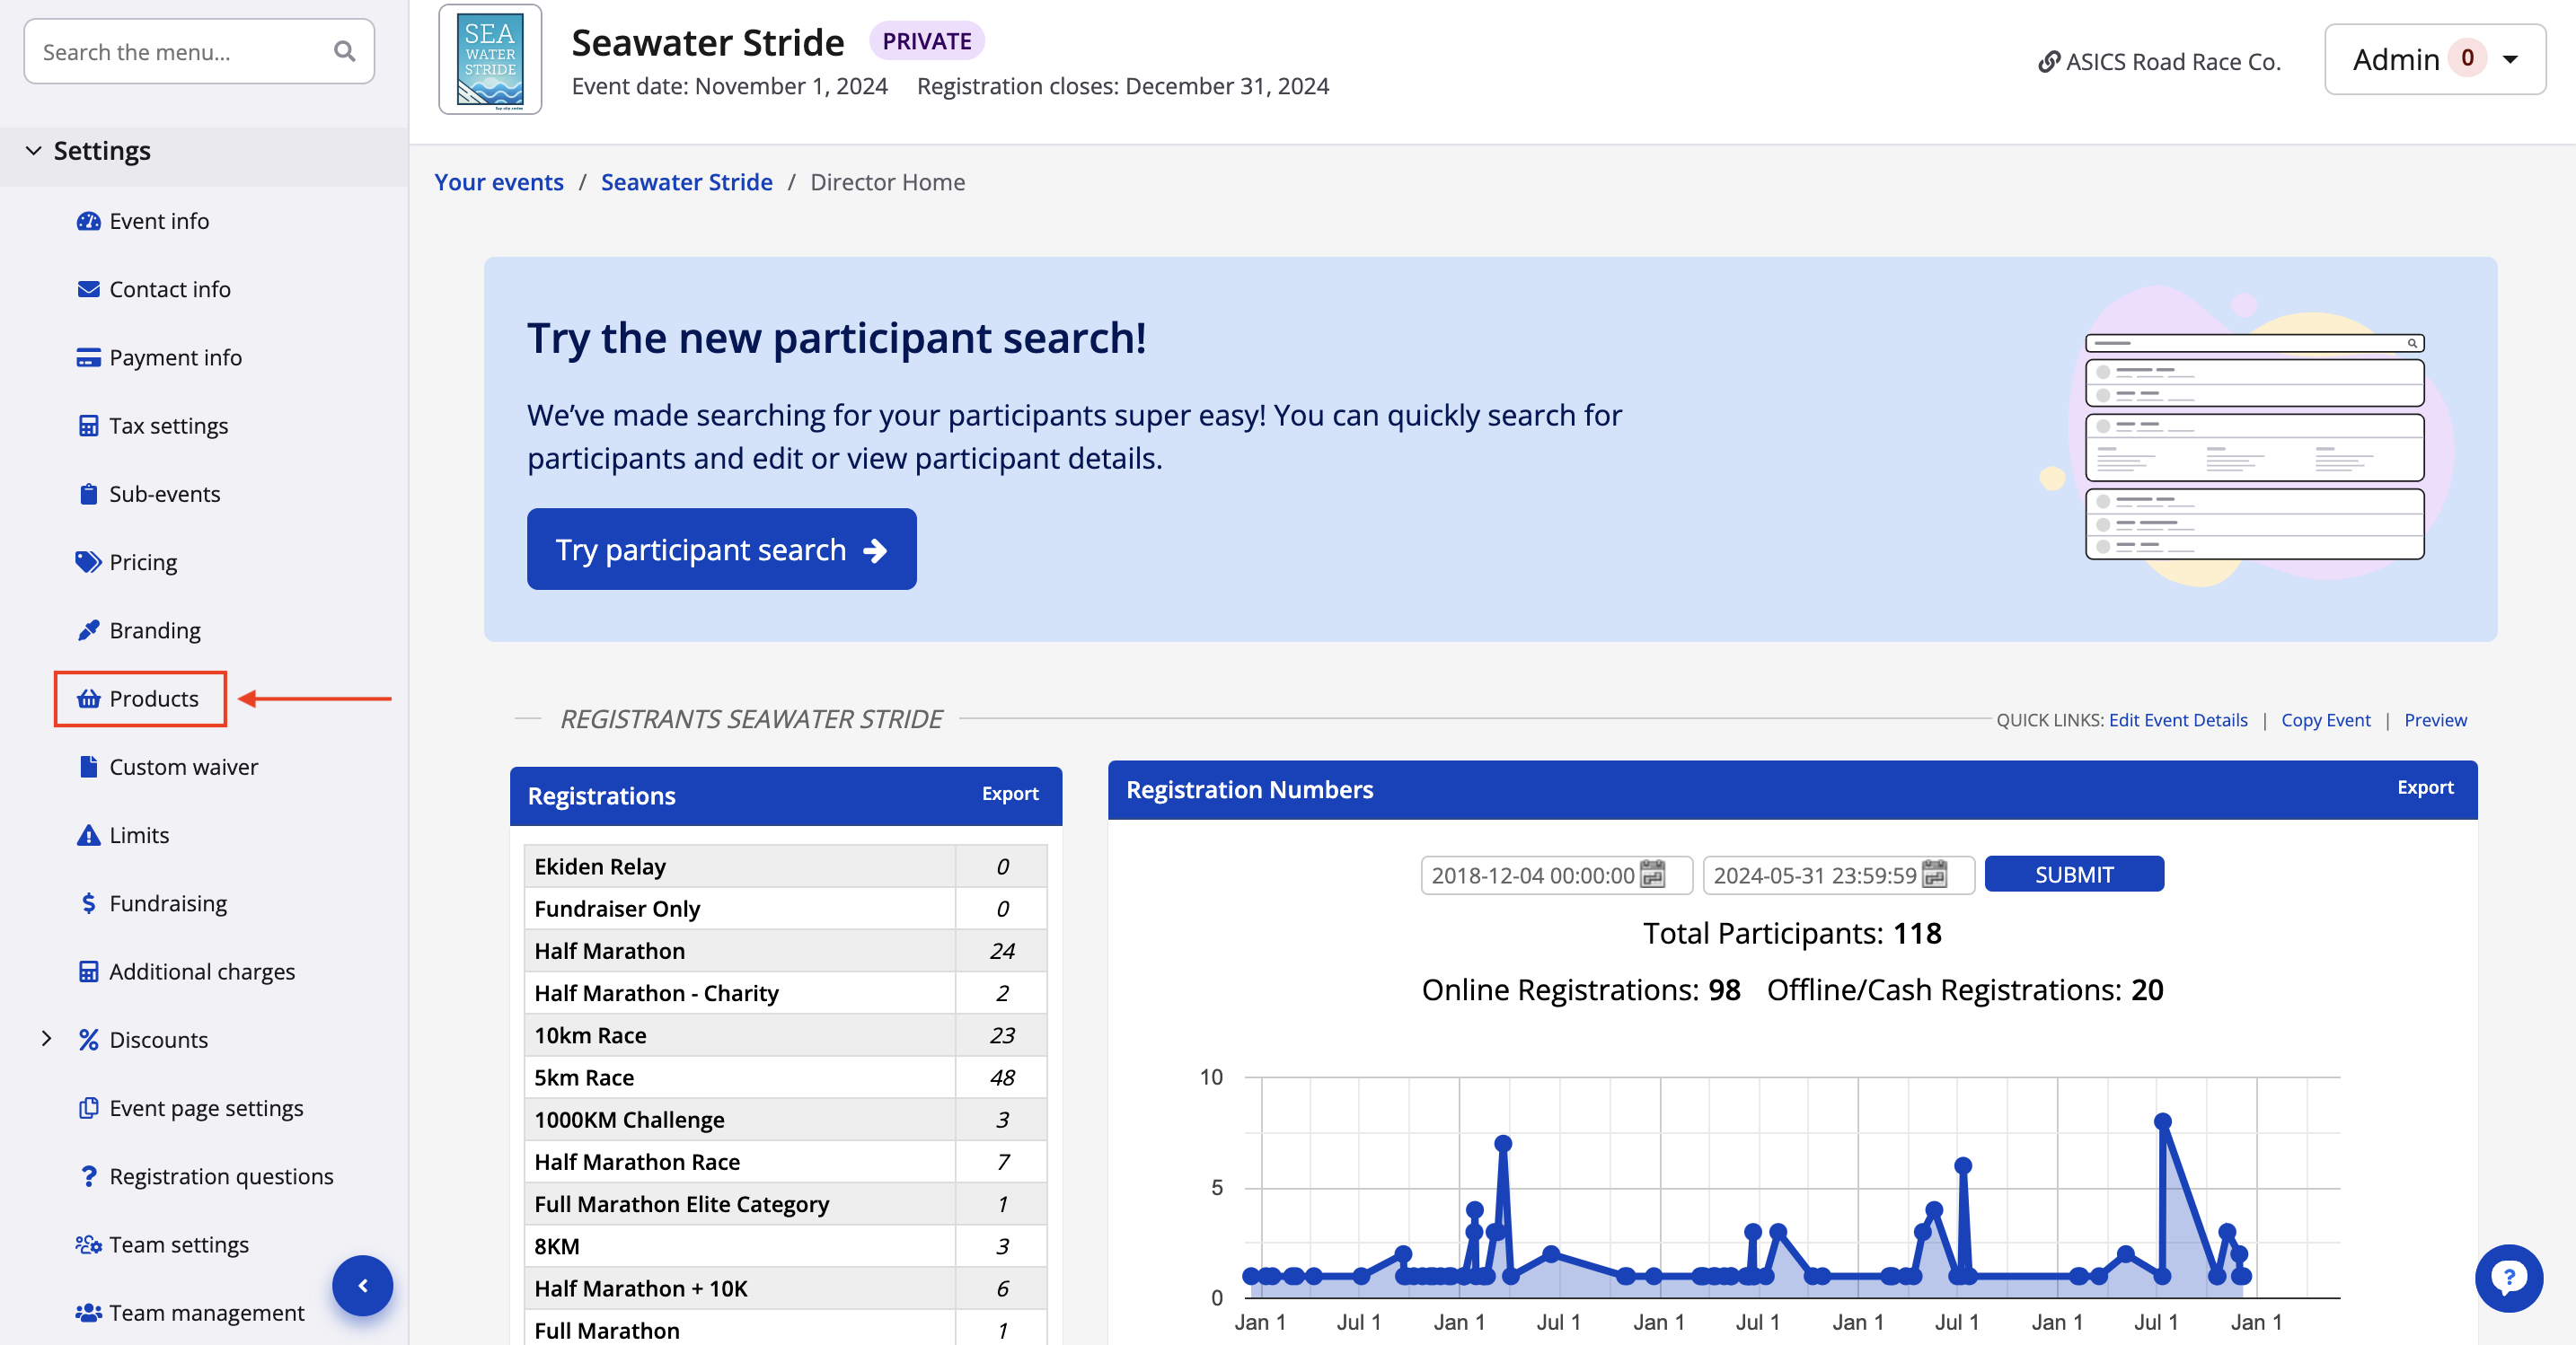
1. From the Event Dashboard, navigate to Settings > Products from the left-hand menu.
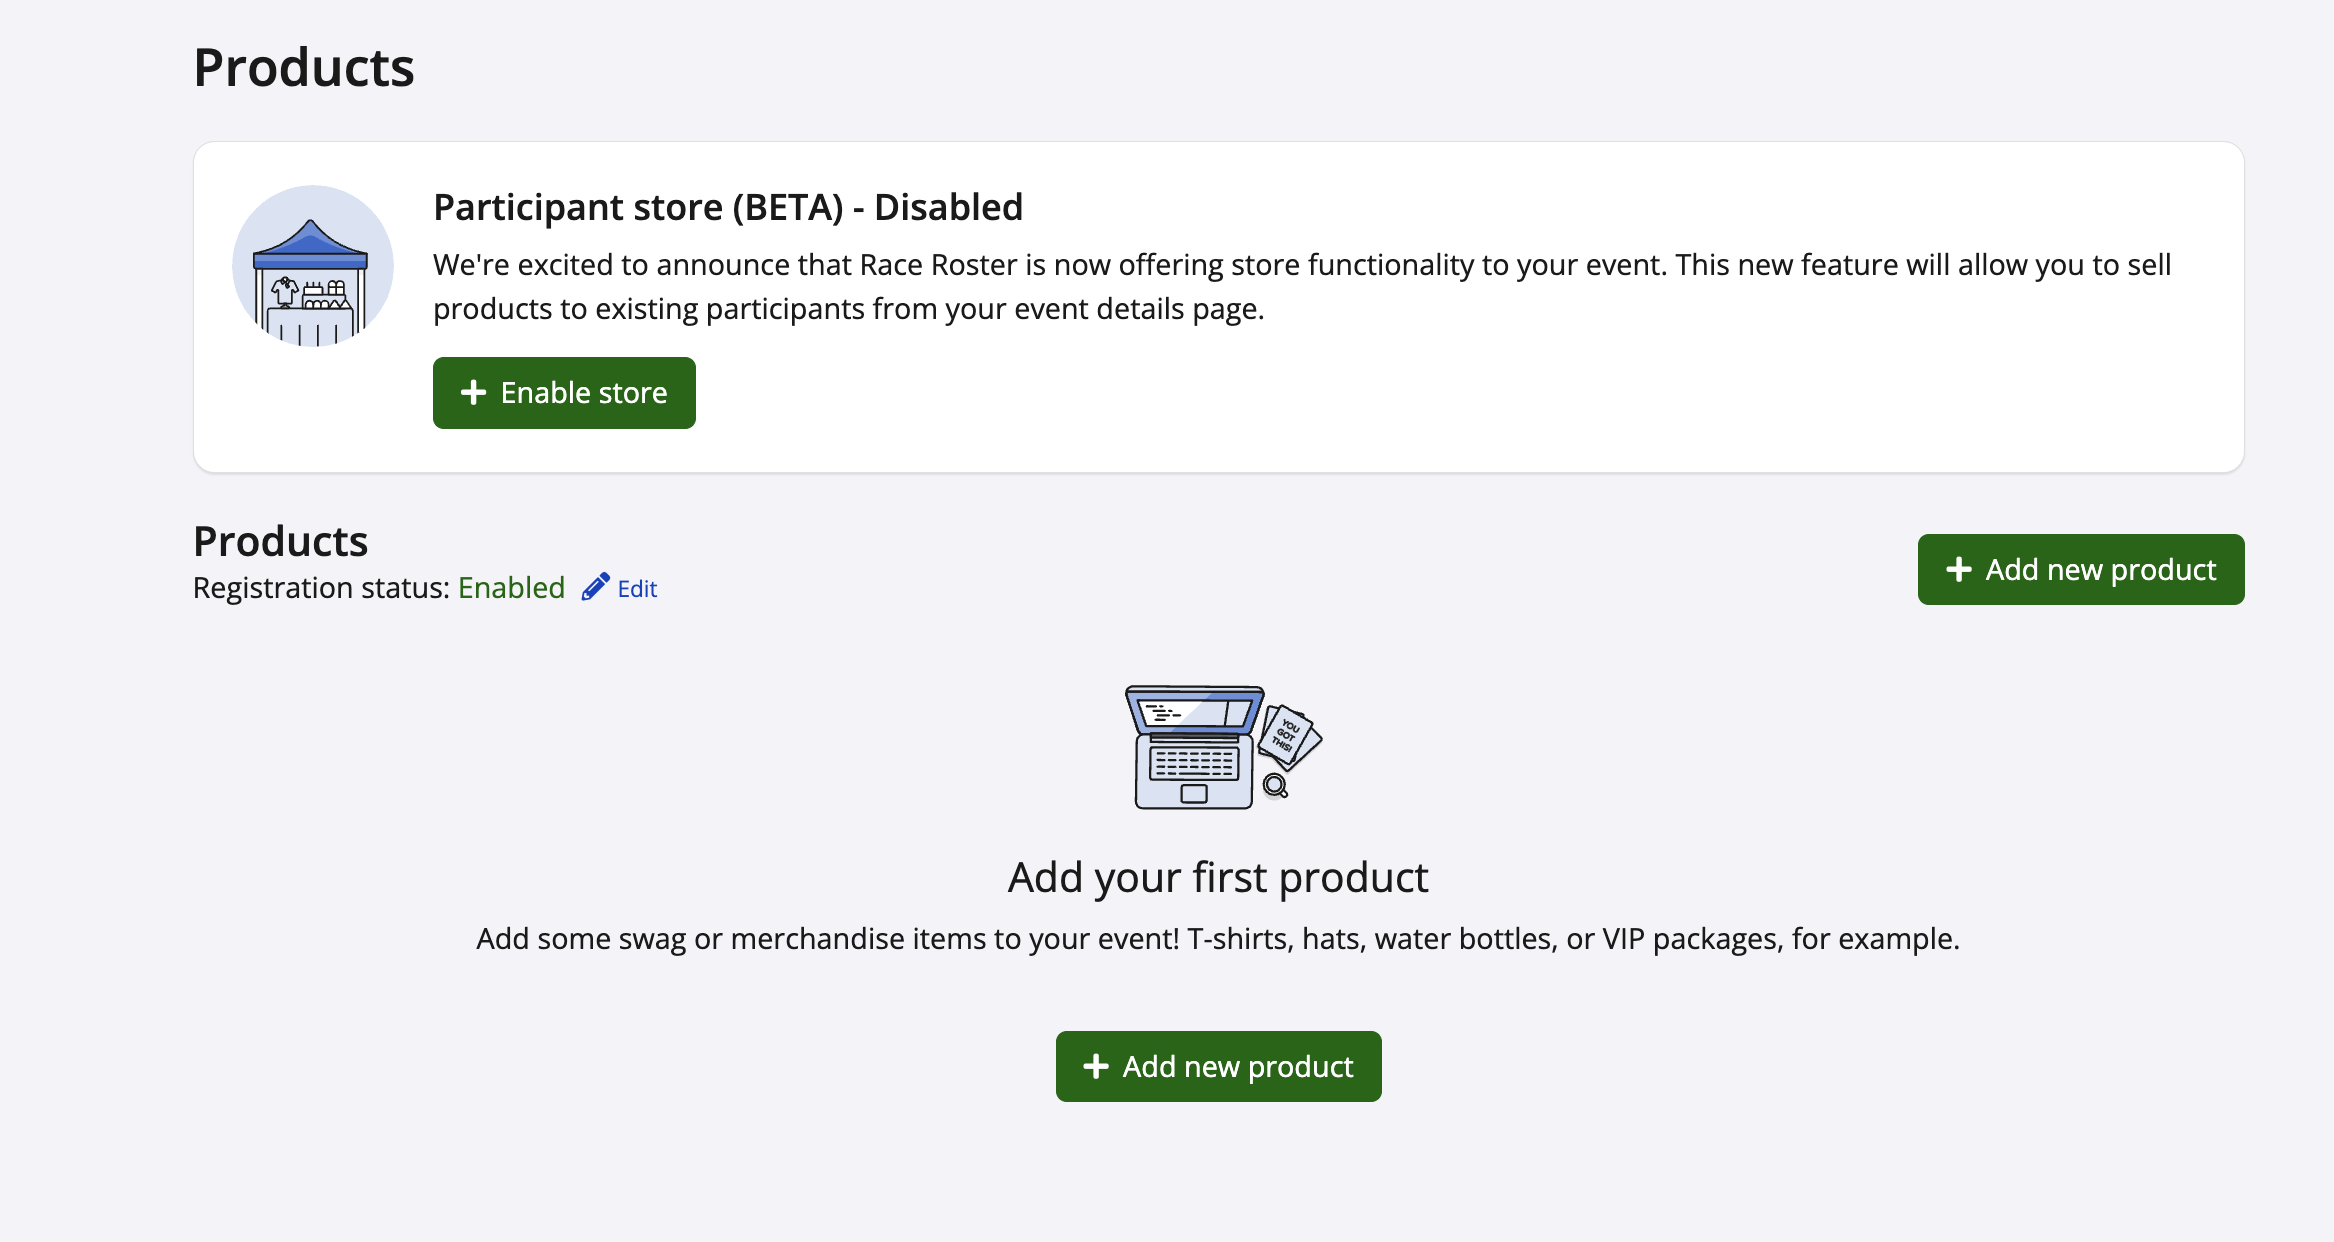
2. Click + Add new product.
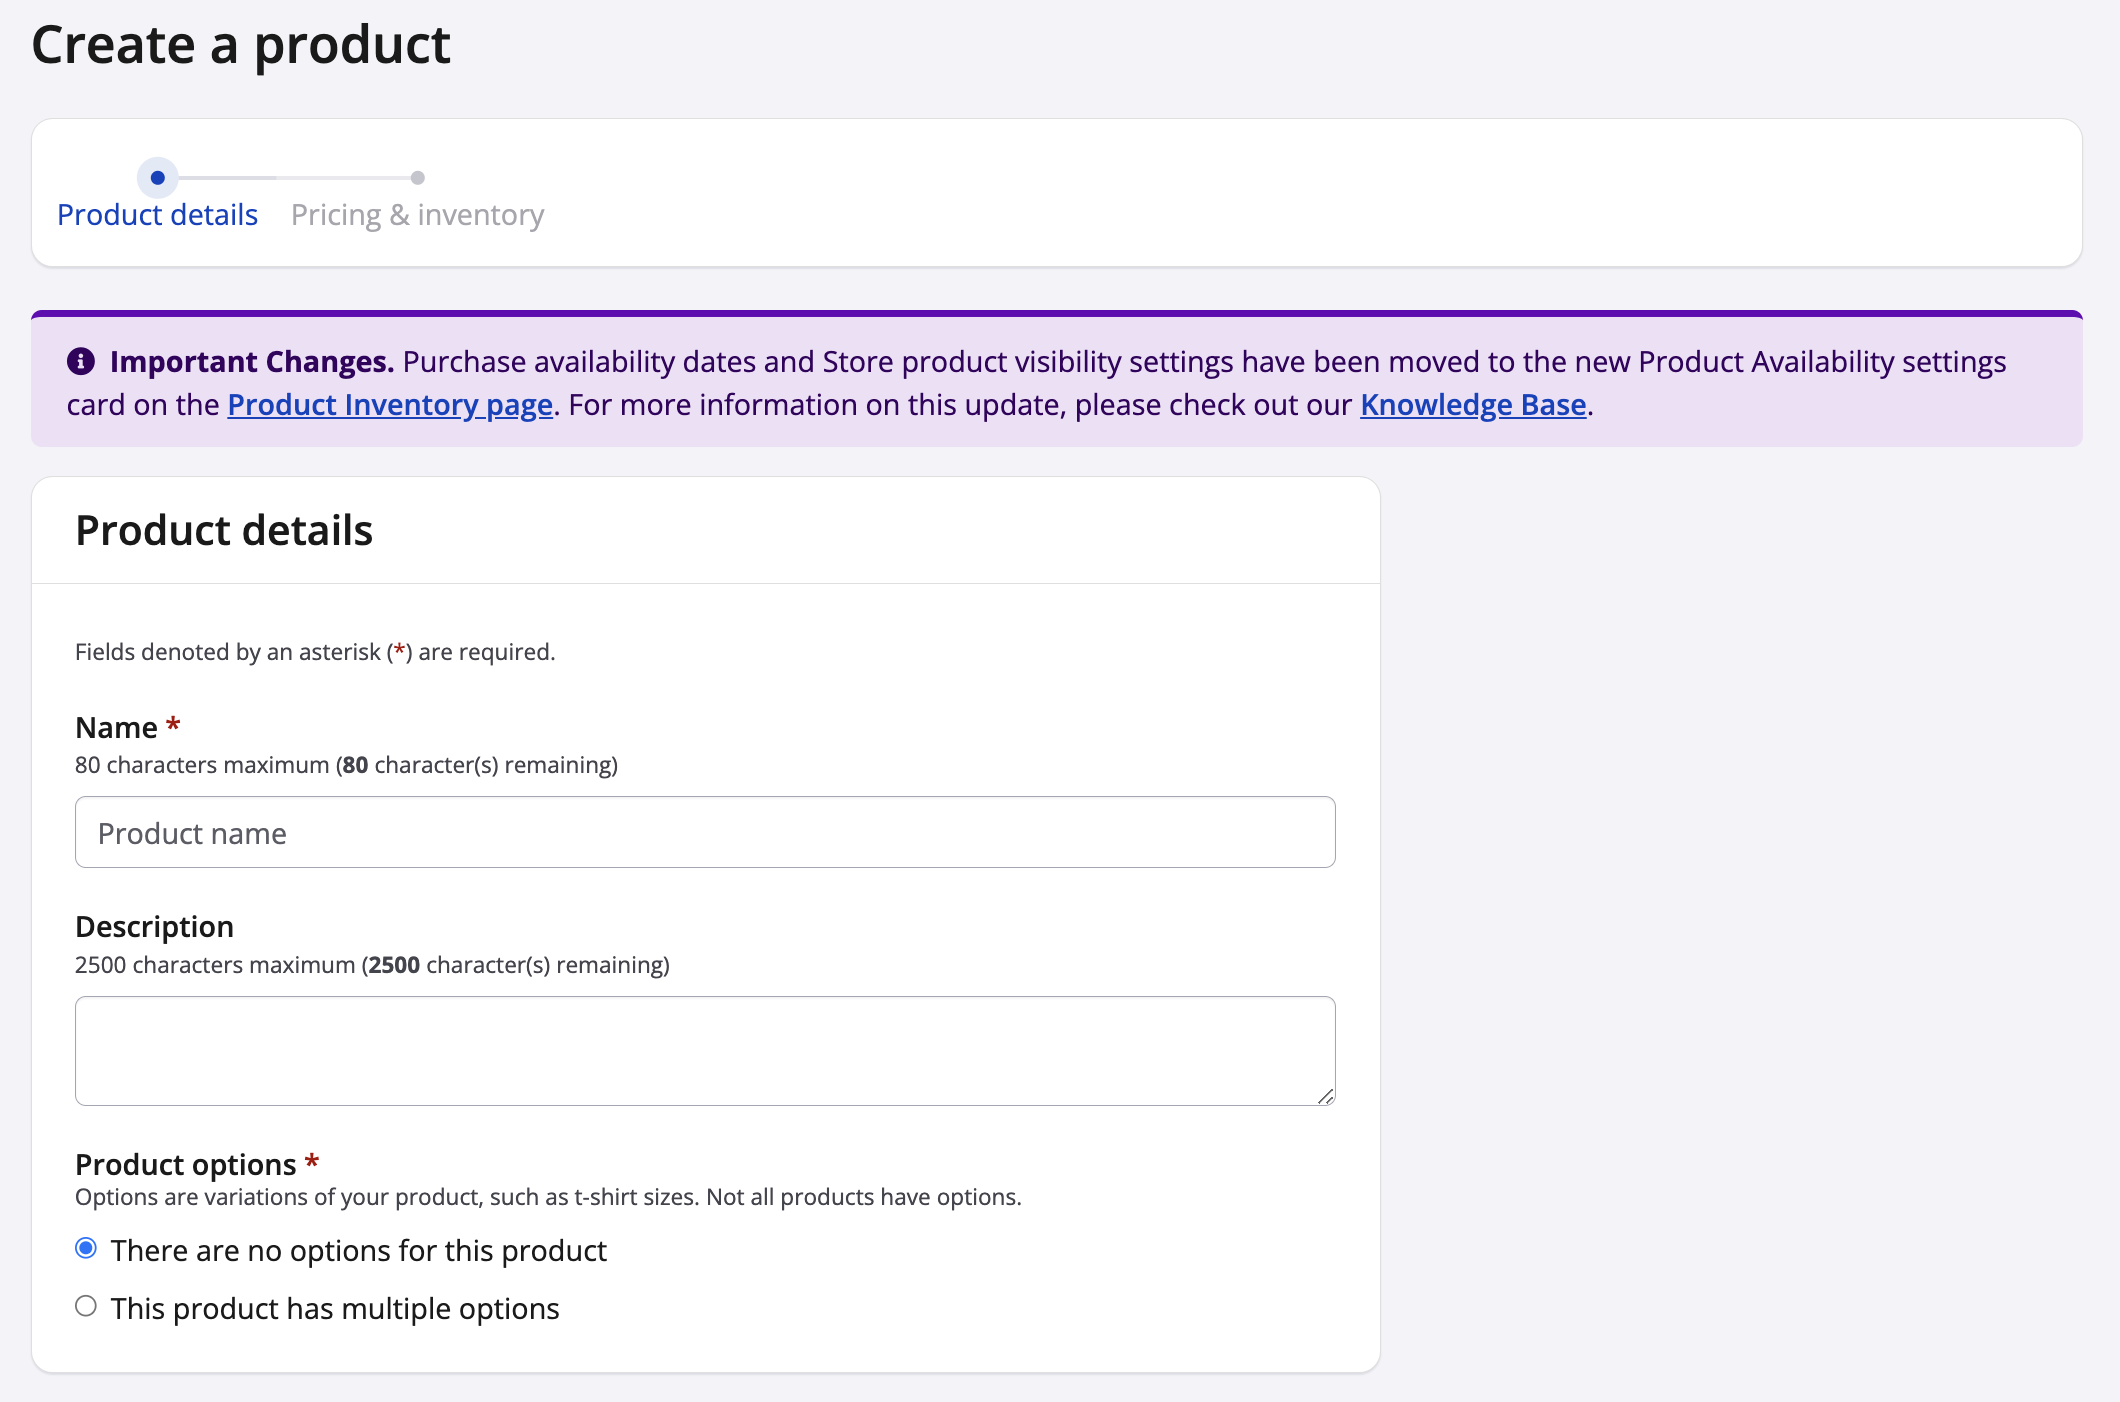
3. In the Product Details section, configure the product information:
- Name: Enter the product title.
- Description: Add any additional information about the product.
- Product Options: Select whether the product has no options or multiple options. Product options can be used for variations such as T-shirt sizes, colours, or styles.
Tip: HTML can be used in the product description field to help format content, add links, or improve how information is displayed to participants during registration.
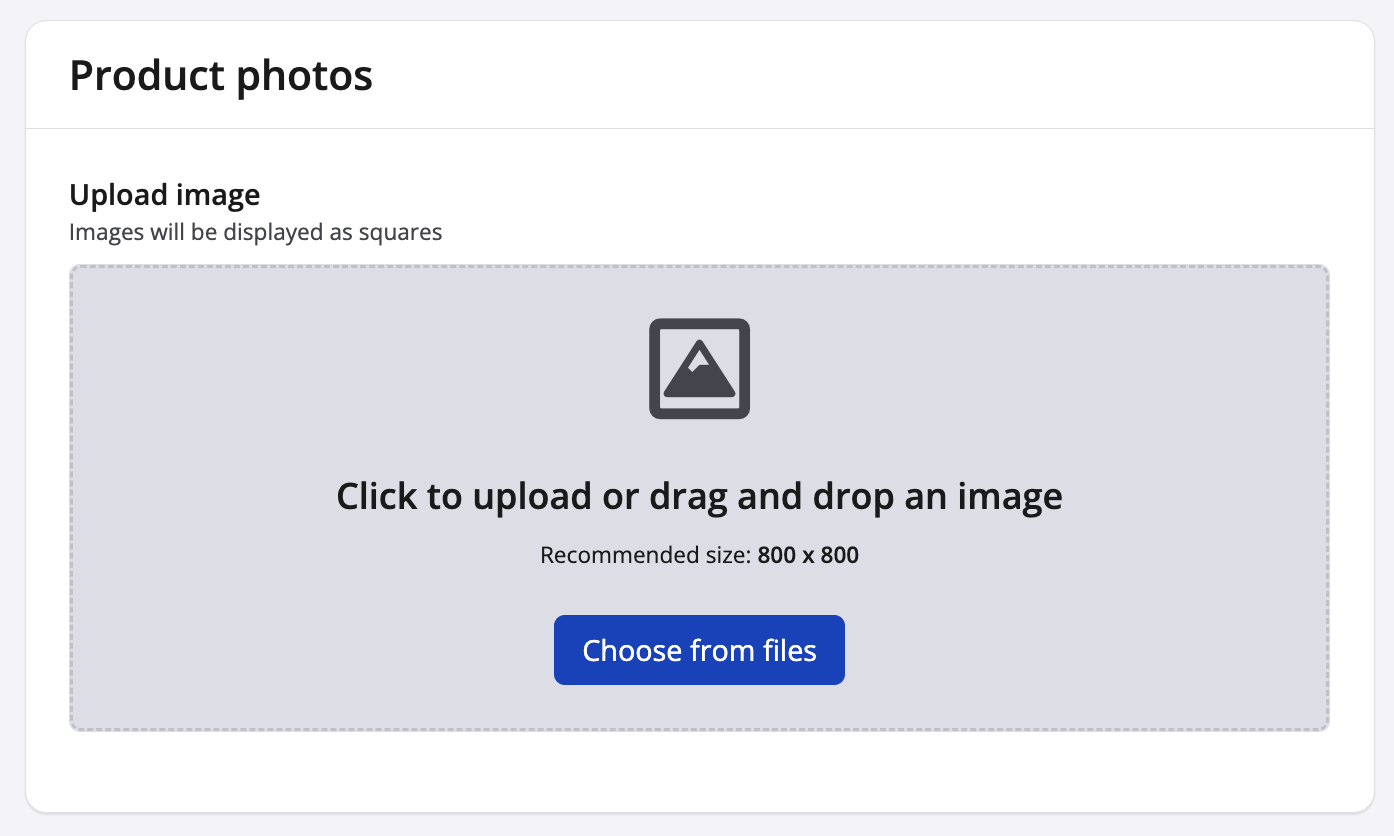
4. In the Photos section, upload product images by clicking the upload area. Multiple images can be added to showcase different product options. GIF files are also supported.
5. Configure the Product Registration Settings as required:
- Only apply to specific sub-events: Restrict the product to selected sub-events.
- Allow multiple quantities: Define how many units of the product a participant can purchase.
- Bundle registrations: Apply the product only once when registering multiple participants in a bundle.
6. Once the product details have been configured, click Save & Continue to proceed to the Pricing & Inventory section.
7. Select the preferred pricing model:
- Give this product away for free
- Sell this product
- Some for free, then for sale
Apply any required tax rates or tax categorizations.
8. Configure inventory settings by selecting either:- Unlimited number of products
- Products are limited
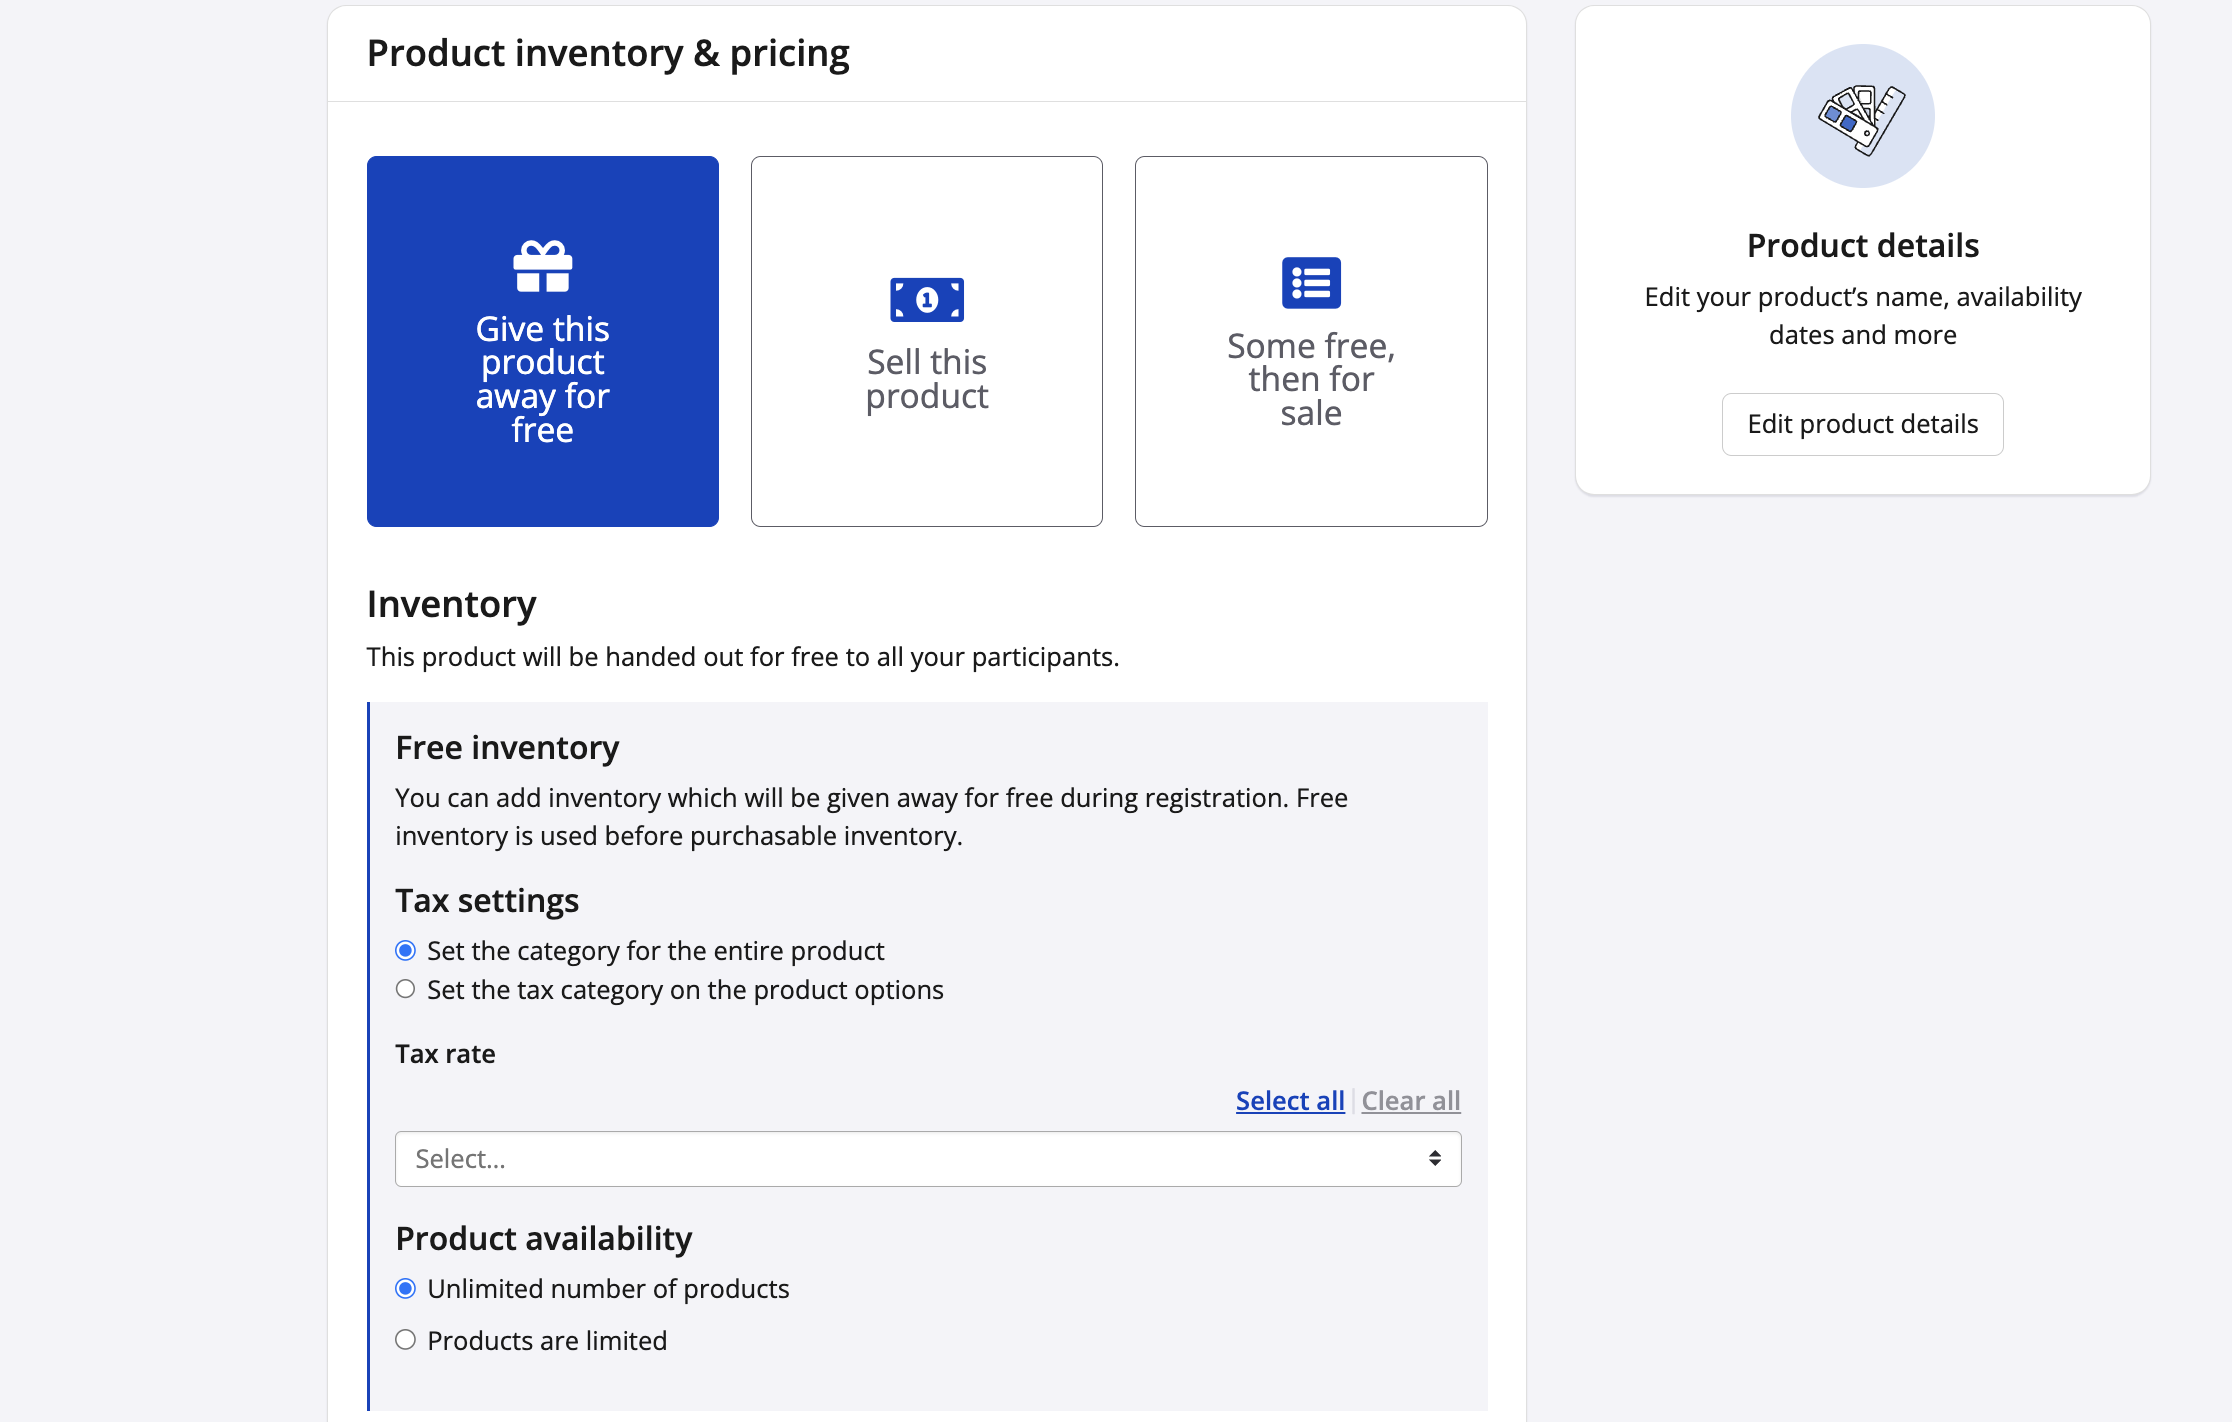
9. In the Display Options section, determine whether to:
- Show sold-out products
- Show sold-out product options
- Show quantity remaining for options
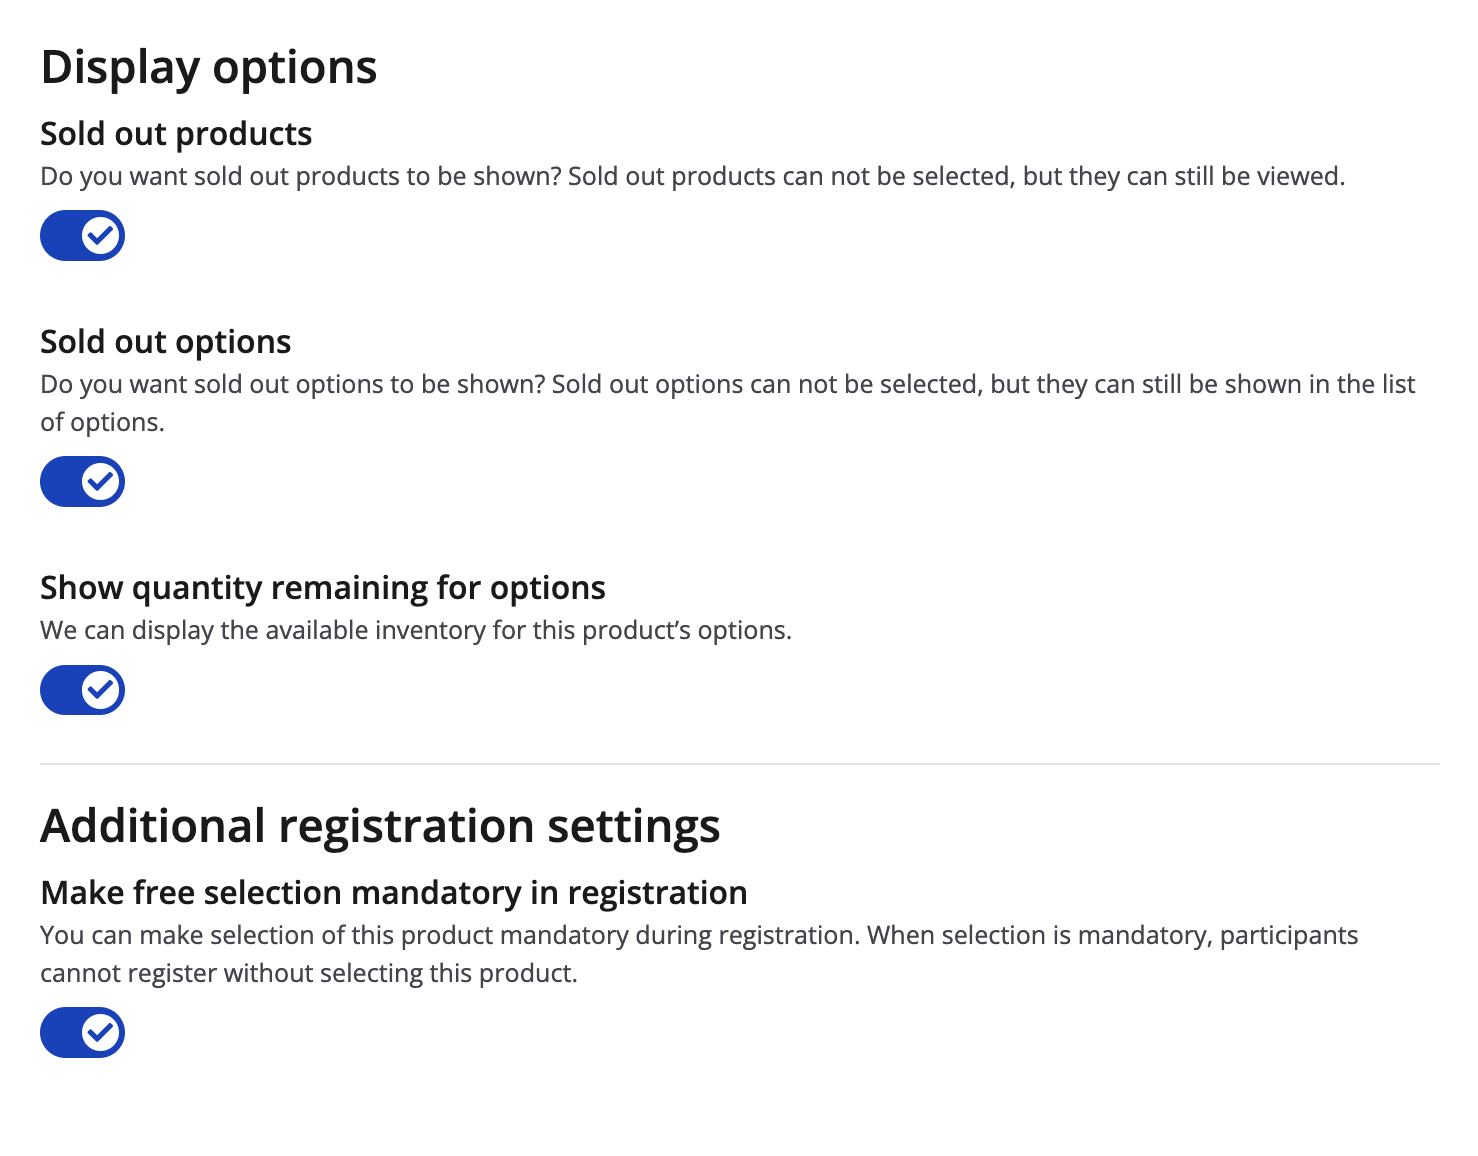
10. Under Additional Registration Settings, choose whether product selection should be mandatory during registration.

11. Configure product availability settings. Availability dates can be applied to both registration purchases and product store purchases, allowing separate open and close dates for each.
Available options include:
- Use the event's default registration start and end dates
- Set custom availability dates
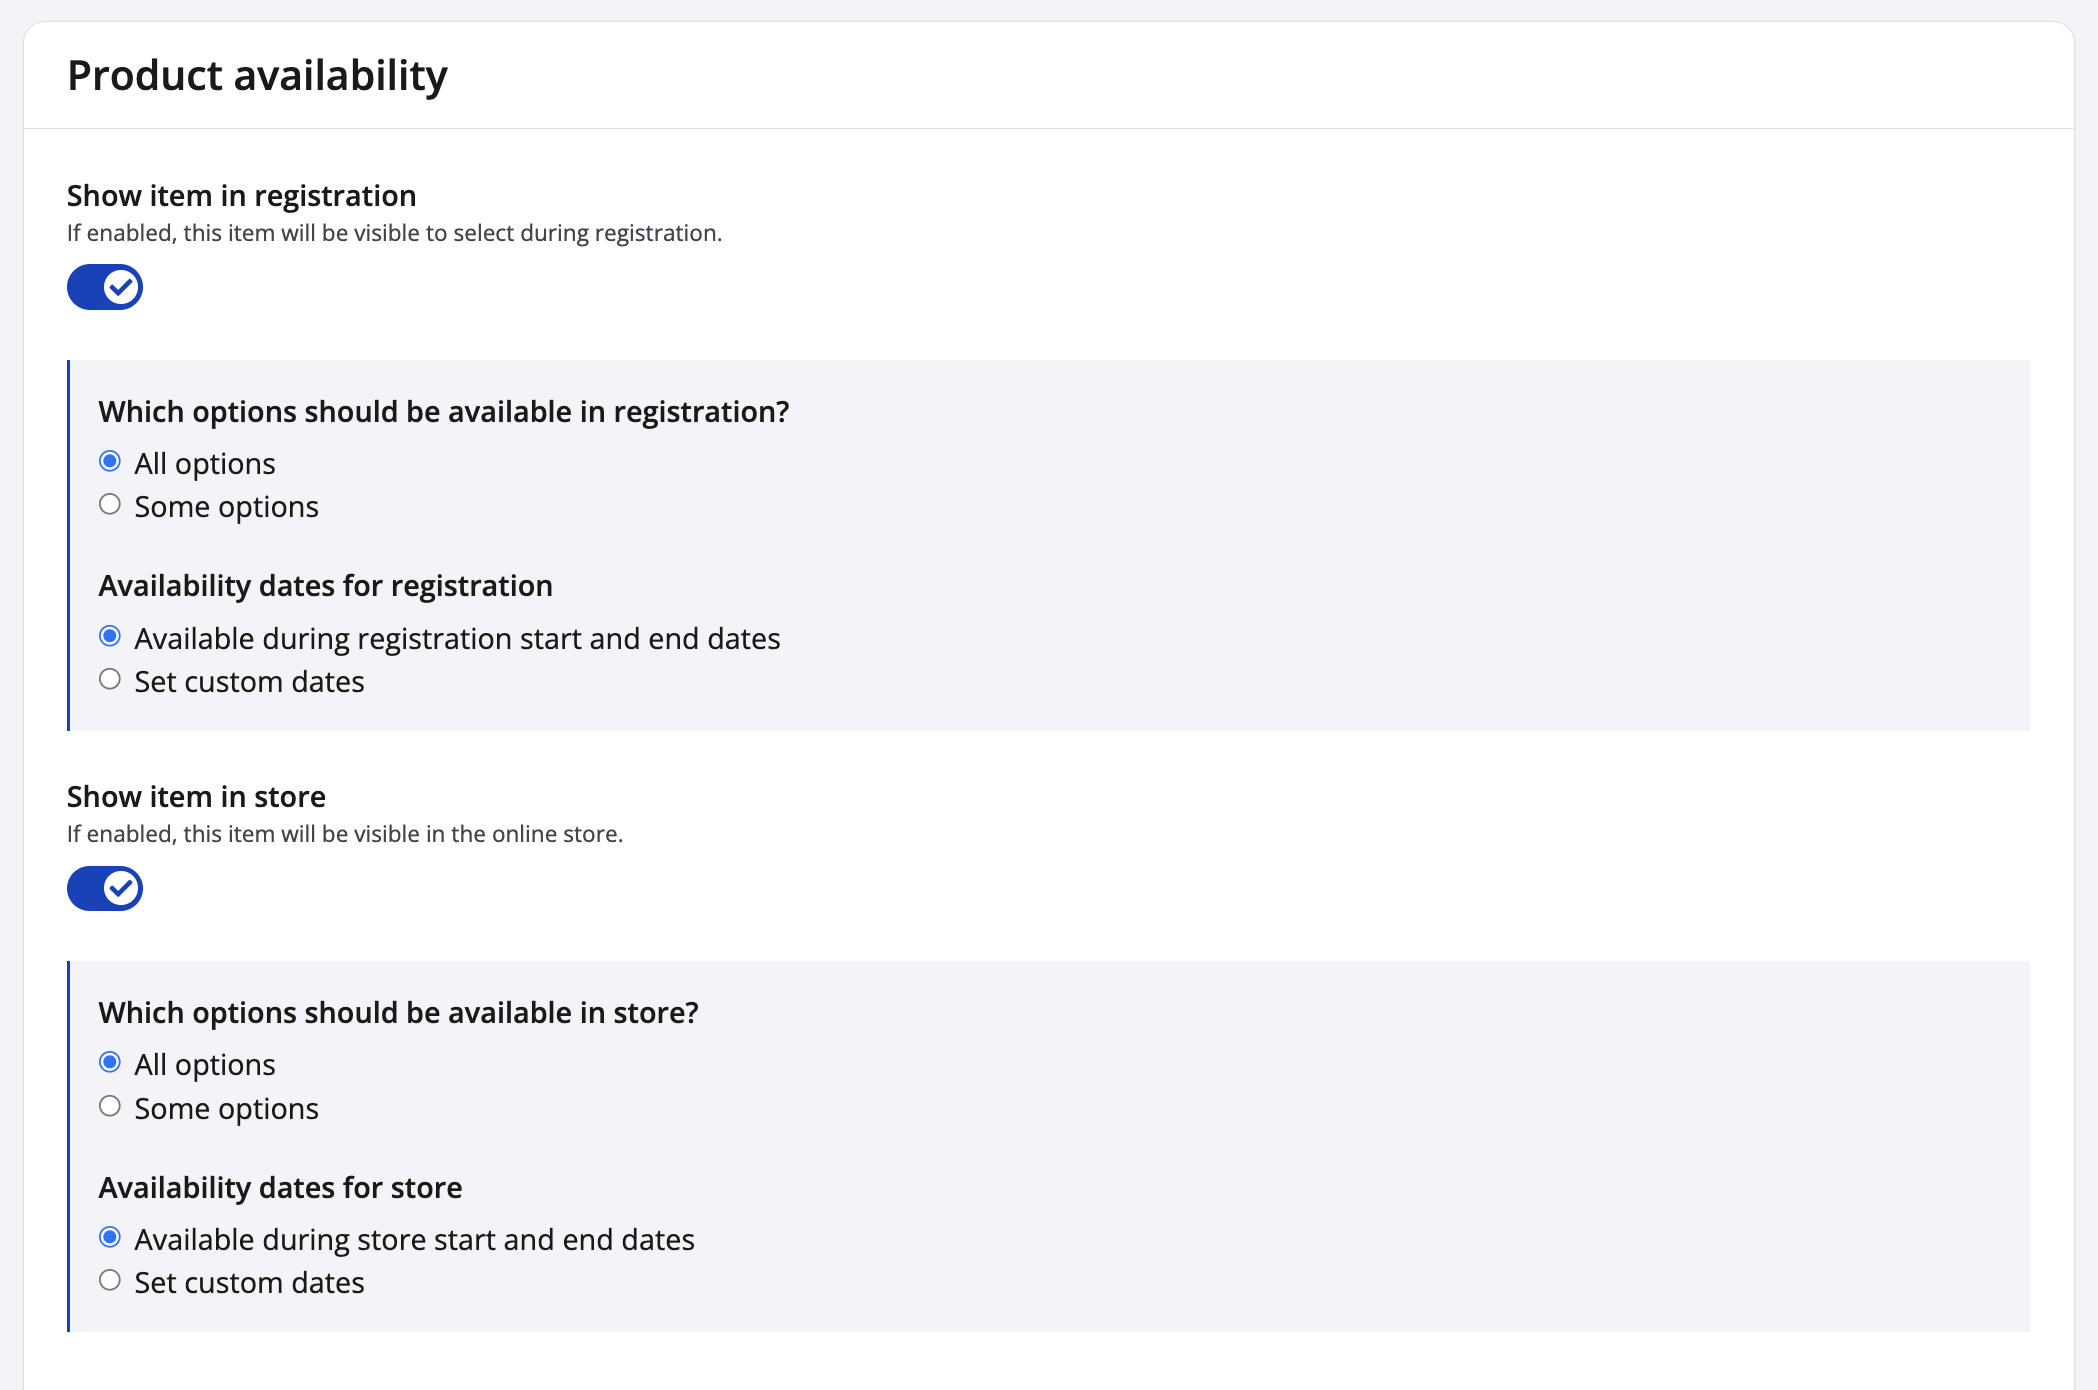
12. If the product contains options, add each option within the Options section by clicking + Add Option.
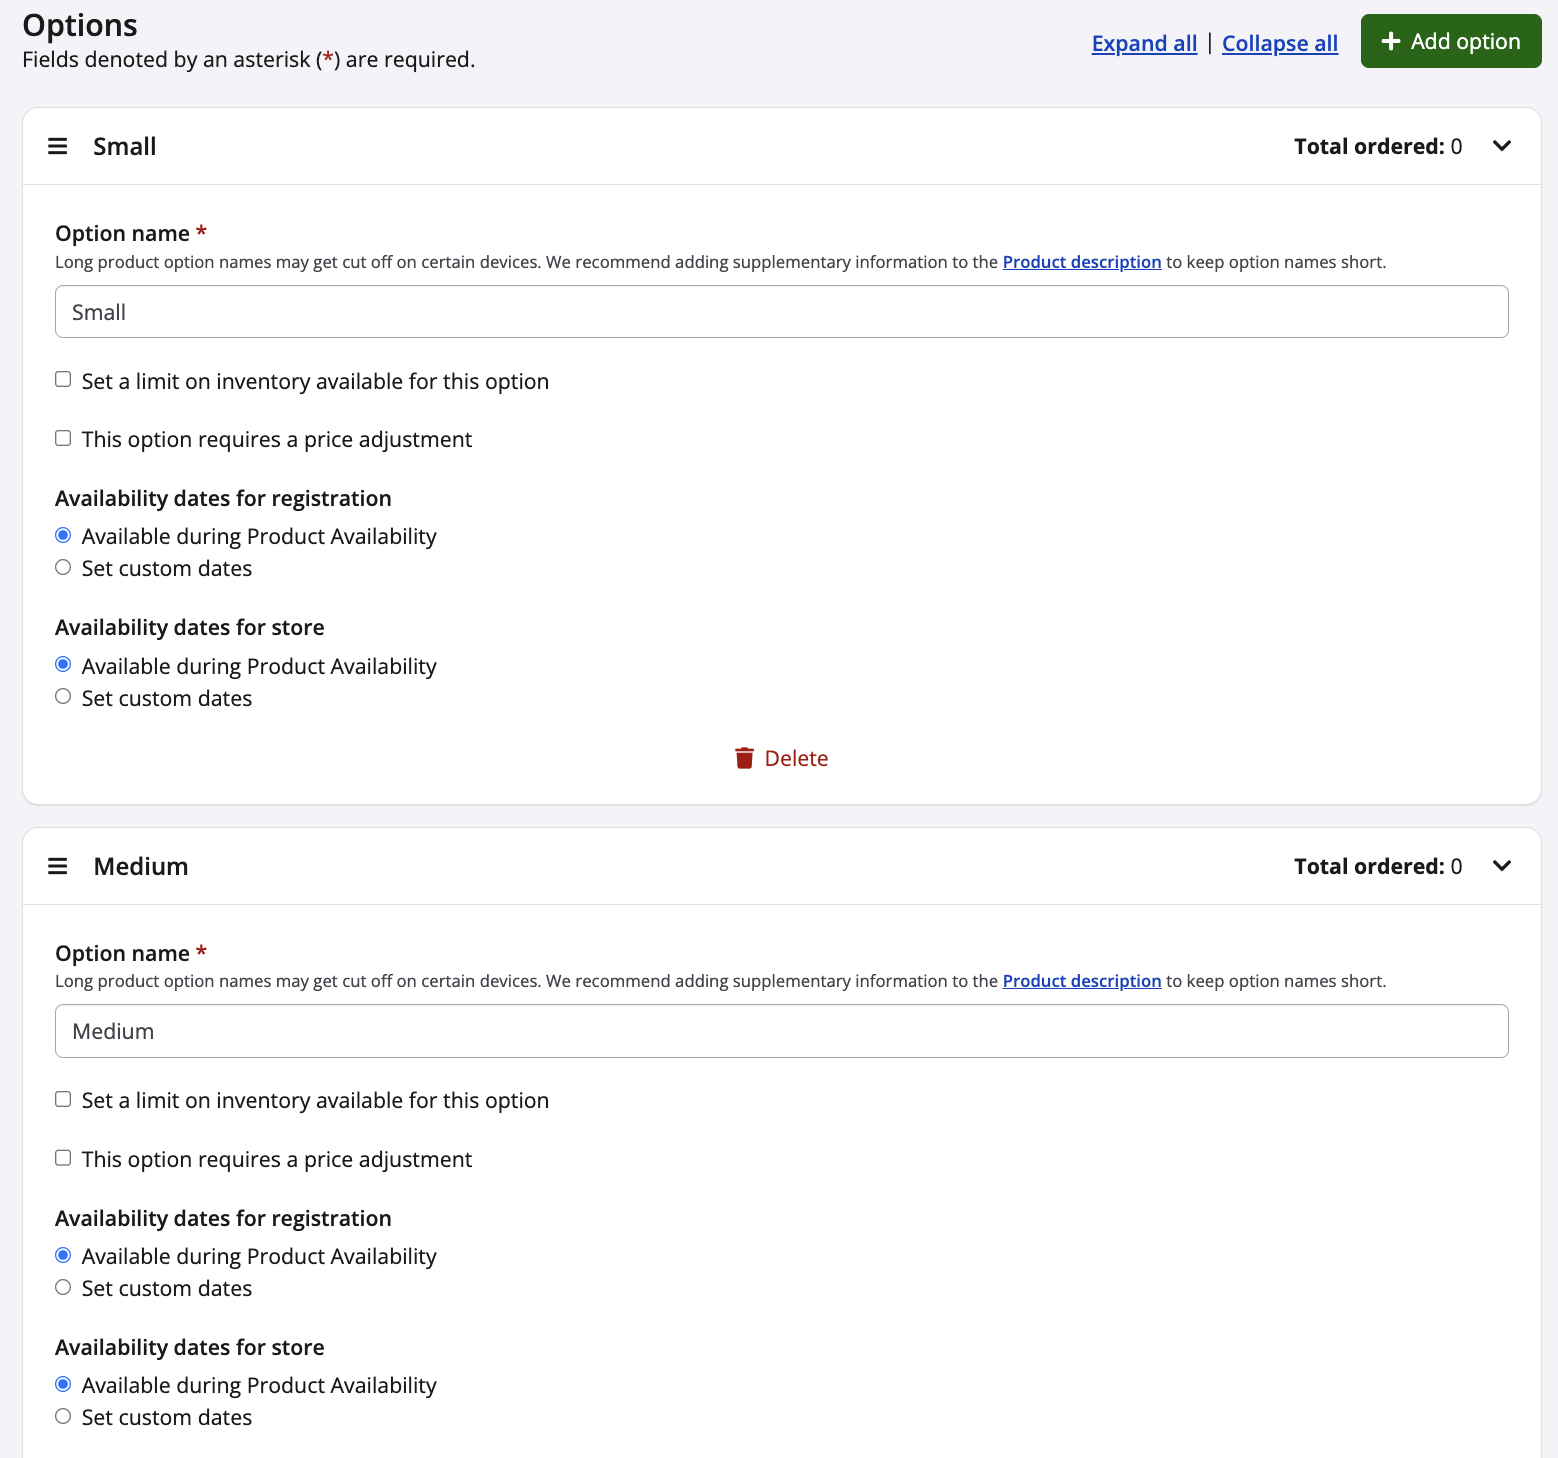
13. Once all settings have been configured, click Save & Return. The product will be created and automatically added to the registration process.